How to Draw a Light Bulb for Beginners
Updated: October 22, 2026
9
Drawing a light bulb is a simple and enjoyable art project for beginners who want to practice basic shapes and everyday objects. By following a few easy steps, you can sketch the rounded glass top, curved sides, and narrow metal base without needing advanced drawing skills. This tutorial will guide you through the process, from creating the initial outline to adding details and shading for a more realistic finish. Grab a pencil, paper and eraser, and follow along to create a neat light bulb drawing while building your confidence in sketching.
Table of Contents
Gather the Right Drawing Materials
Gather your drawing supplies and choose a clear reference picture before you begin. These simple preparations will help you create a clean and balanced light bulb sketch.
- Prepare your drawing paper, HB pencil, eraser, and ruler before starting your light bulb drawing. Having these basic tools ready will make each step easier and help you create a neat outline.
- Choose a clean sheet of paper with enough space to draw the entire light bulb. A smooth surface allows you to make light pencil strokes and erase unwanted lines without damaging the paper.
- Next, keep a sharp pencil nearby for drawing the bulb’s curved shape and narrow base. You can use a ruler to make the metal screw section look more even and organized.
- Additionally, select colored pencils or markers if you want to add color to your finished drawing. Yellow, light orange, and gray are useful shades for creating a simple light bulb illustration.
- Finally, find a light bulb reference picture to understand its proportions and details. Observing a real object or image can help you draw the glass top and metal base more accurately.
Preparing drawing materials before starting makes the process more organized and comfortable. I find that an HB pencil works well for creating light outlines and making small corrections. Keeping an eraser nearby helps remove unwanted marks without leaving the paper messy. A clear reference image also makes it easier to understand the shape of a light bulb.
Sketch the Basic Shape of the Light Bulb
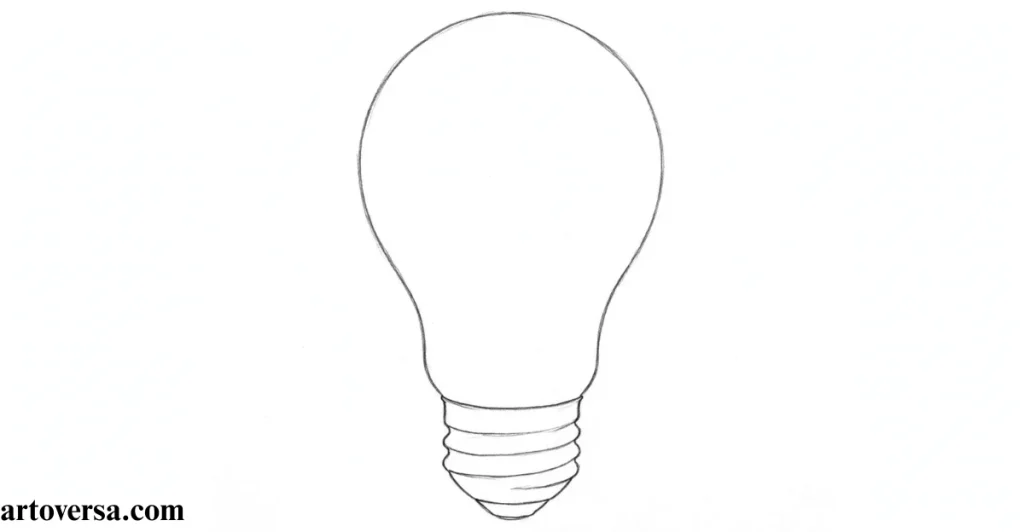
Start with light guidelines and simple curves to build your light bulb shape. Take your time to balance the glass top and narrow base before moving forward.
- Begin your light bulb drawing by sketching a large rounded shape for the glass top. Use light pencil strokes so you can easily adjust the outline as you work.
- Draw a slightly curved dome at the top, making it wider in the middle and narrower near the bottom. This shape creates the familiar appearance of a traditional light bulb.
- Next, add two curved lines beneath the dome to connect the glass section to the narrow neck. Keep both sides balanced so the bulb looks natural rather than tilted.
- After that, sketch a small rounded shape at the bottom of the neck for the metal base. Make sure the base is narrower than the widest part of the glass.
- Lastly, review the entire outline before adding details. Erase uneven marks and adjust the curves until your basic light bulb shape looks smooth and proportionate.
Starting with a simple outline makes a light bulb easier to draw, especially for beginners. I find that using light pencil strokes allows quick changes without damaging the paper. Checking both sides of the glass dome helps maintain a balanced shape. Once the outline looks correct, adding the filament and base details becomes much easier.
Add the Filament and Base Details
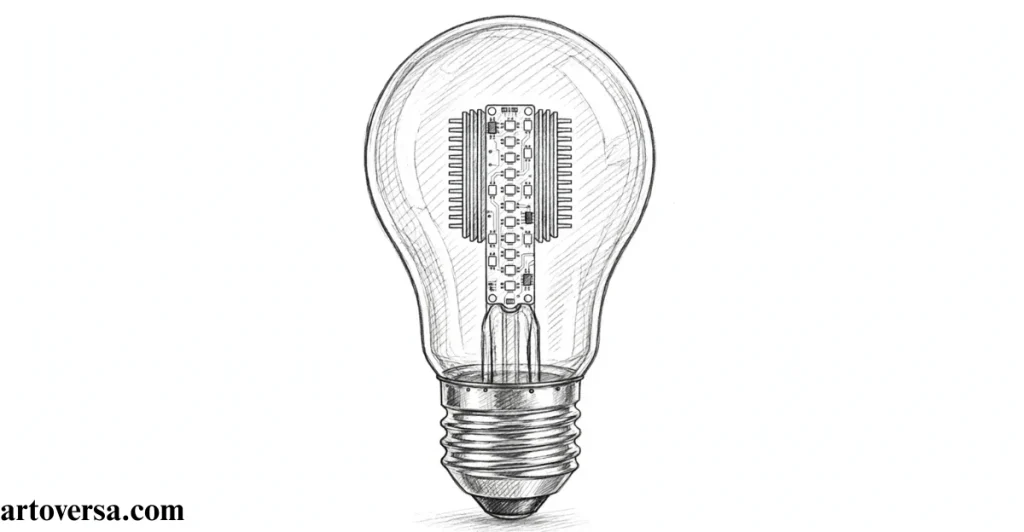
Add the filament and screw threads with light, controlled pencil strokes. Small details will help your light bulb drawing look more complete and recognizable.
- Carefully draw the filament inside the glass section to make your light bulb illustration more recognizable. Keep the internal lines simple so the drawing remains clear and easy to follow.
- Start by sketching two thin support wires extending upward from the lower part of the bulb. These lines should sit near the center and remain visible through the glass.
- Then, add a small loop or zigzag shape between the support wires to represent the filament. Keep the shape small and centered to avoid overcrowding the inside of the bulb.
- Next, draw several short horizontal lines across the metal base to create the screw threads. Space these lines evenly and follow the slight curve of the base for a realistic appearance.
- Finally, add a small curved line at the bottom to represent the contact point. Check that the filament, support wires, and base details are neat and properly positioned.
Adding the filament after completing the main outline helps keep the drawing organized. I find that thin pencil lines work best for the internal wires because they prevent the glass section from looking crowded. Drawing the screw threads slowly also helps maintain even spacing. Reviewing these small details before shading makes the final illustration look cleaner.
Add Shading and Color to the Light Bulb
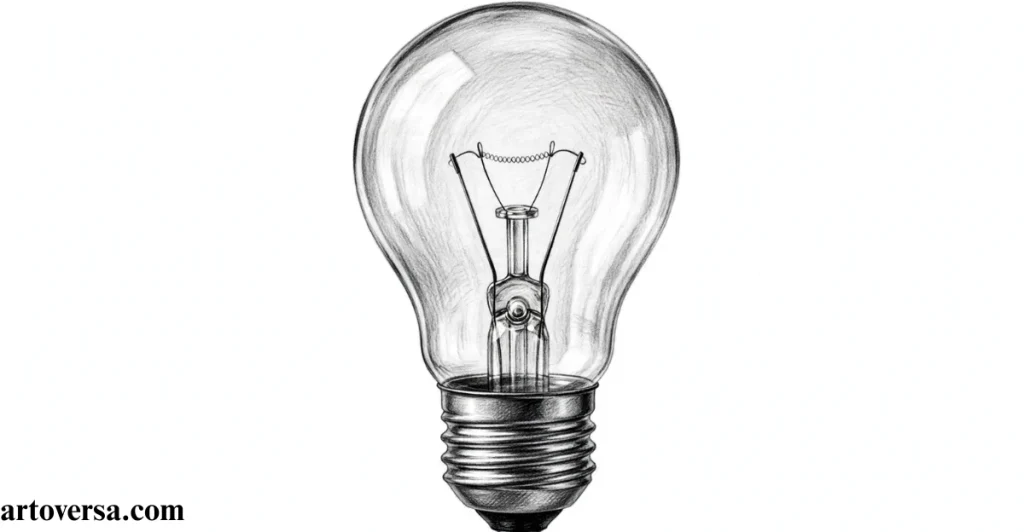
Use light colors first, then gradually add shadows and highlights. Gentle shading will help your light bulb look brighter and more realistic.
- Bring your light bulb sketch to life by adding soft shading and simple colors. Light tones can make the glass look transparent, while darker shades help define the metal base.
- Begin by adding a faint gray shade along one side of the glass outline. Leave the middle area mostly white to suggest a smooth glass surface reflecting light.
- Next, use gray or silver pencil strokes to color the screw base. Apply darker shading between the horizontal threads to create depth and make the metal section look more three-dimensional.
- For a glowing effect, add pale yellow around the filament and a small amount of light orange near its center. Keep the colors gentle so the bulb does not look too dark.
- Lastly, blend the shading carefully and preserve a few bright highlights on the glass. These lighter areas help create the appearance of reflective glass and make your light bulb illustration more attractive.
I find that applying light shades first gives better control over the final appearance. Adding gray gradually helps create a metallic look without making the base too dark. Soft yellow around the filament can suggest a gentle glow inside the bulb. Leaving a few white areas also helps the glass look brighter and more natural.
Finish and Improve Your Light Bulb Drawing
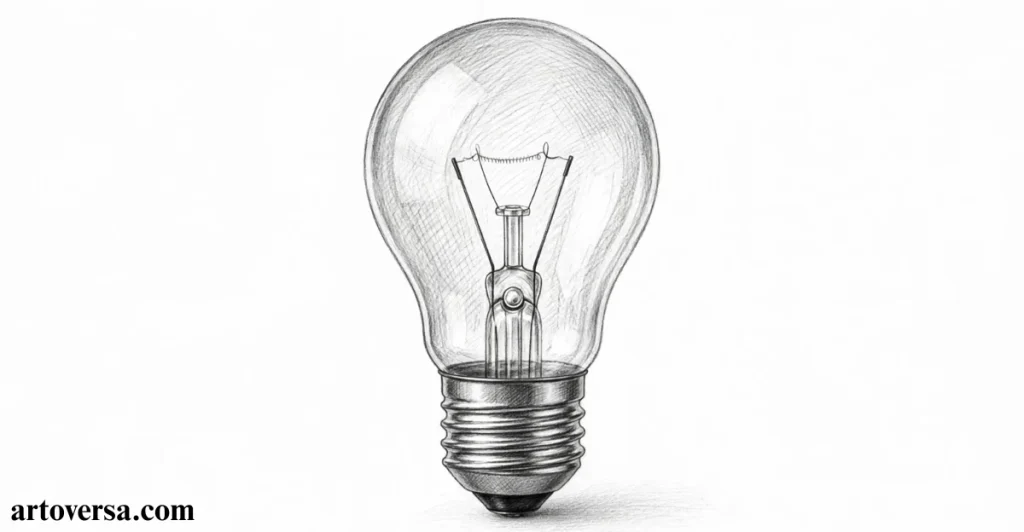
Review your drawing and clean up any extra lines before finishing. Keep practicing these steps to improve your light bulb sketching skills.
- Complete your light bulb drawing by reviewing the outline, filament, and metal base. Small corrections can make the final artwork look cleaner and more balanced.
- Start by checking the dome to ensure both sides have a smooth, rounded appearance. Adjust any uneven curves and erase extra guidelines that remain around the glass section.
- Next, darken the main outline slightly so the light bulb stands out from the paper. Avoid making every line equally dark because lighter internal details can improve the overall appearance.
- Additionally, check the screw threads and contact point at the bottom. Make sure the horizontal lines are evenly spaced and the base connects naturally to the glass neck.
- Finally, add any missing highlights or shadows and remove stray pencil marks. Review your completed artwork and make small improvements until the light bulb looks clear, simple, and well-defined.
Reviewing the drawing at the end helps identify small mistakes that may not be noticeable during the first steps. I find that cleaning extra guidelines gives the light bulb a more polished appearance. Checking the outline and shading together helps keep the artwork consistent. Practicing the same shape again can also improve control and make future drawings easier.
Conclusion
Learning how to draw a light bulb becomes easier when you break the shape into small, manageable steps. Start with the curved glass outline, carefully sketch the metal base, and add the inner filament to give your drawing its familiar appearance. Simple shading and highlights can also make the bulb look more three-dimensional. If your first attempt is not perfect, practice the outline again and adjust the proportions until you are happy with the result. With a little patience and creativity, you can turn this everyday object into a neat drawing and build confidence for your next art project.
FAQs
How Do You Draw a Light Bulb Step by Step?
Start by drawing a rounded dome for the glass top and a narrow shape for the metal base. Use light pencil strokes to create the basic outline. Add the filament and screw threads to make the bulb recognizable. Finally, refine the shape and add shading to complete your light bulb drawing.
What Materials Are Needed to Draw a Light Bulb?
You need drawing paper, an HB pencil, an eraser, and a ruler to get started. These basic tools help you create smooth outlines and accurate details. Colored pencils or markers are optional if you want to add color. A reference picture can also help you understand the shape of a traditional light bulb.
Which Shapes Help Create an Easy Light Bulb Drawing?
A rounded dome works well for the glass top, while a narrow shape forms the lower base. Use curved lines to connect the glass section to the metal part. Draw these shapes lightly so you can correct their proportions. Starting with basic drawing shapes makes the process easier for beginners.
Why Should Beginners Use Light Pencil Strokes?
Light pencil strokes make it easier to correct mistakes without damaging the paper. They allow you to adjust the bulb’s shape before adding darker outlines. You can also erase unnecessary guidelines more easily. This simple technique helps beginners create a neat and balanced light bulb sketch.
When Should You Add the Filament to a Light Bulb Sketch?
Add the filament after completing the main outline of the glass and base. Draw two thin support wires inside the bulb and connect them with a small loop or zigzag shape. Keep these details near the center for a balanced appearance. Completing the outline first makes the light bulb drawing easier to organize.
Please Write Your Comments