Kids’ Bedrooms That Grow Beautifully Over Time
Updated: September 17, 2026
46
A kids’ bedroom should feel fun and comfortable now while still making sense as they grow. Simple furniture and timeless colors can make it easy to refresh the room without starting over. Smart storage keeps everything organized as their belongings change over time. Small personal touches can also give the space more character without making it feel too young. These ideas will help you create a bedroom that stays practical and beautiful for years. Give your child a room that grows with them and still feels like home.
Table of Contents
Kids’ Bedroom Drawing Step by Step
Start your kids’ bedroom drawing today and bring the bed, furniture, storage and decorative details together to create a cozy and realistic room design.
Step 1: Draw the Basic Bedroom Structure
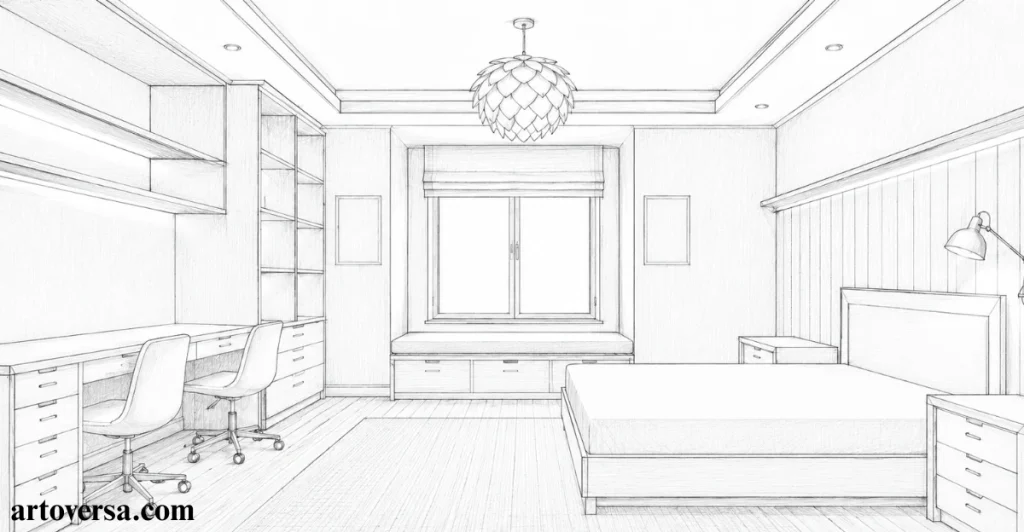
Start with a simple bedroom structure to create a flexible foundation that can easily grow with your child.
- Begin with the basic room shape and keep the lines clean and balanced. Leave enough open space for a flexible layout.
- Mark the main walls, floor area, door, and window before adding furniture. This creates a strong foundation for the bedroom design.
- Keep the room structure simple and avoid overly themed details at this stage. A timeless design can adapt naturally as your child grows.
- Plan enough space around the main areas so the bedroom stays practical over time. Good spacing supports both function and beauty.
- Check the complete room placement before moving forward with furniture and storage. A thoughtful structure makes future changes easier without constant redesigns.
Common problems and how to overcome them
Many beginners make the room too crowded before checking the basic structure. Keep the flexible layout open and focus on balanced placement. This makes the bedroom easier to adapt as the child grows and needs change.
When I plan a kids’ bedroom, I always begin with the room structure before adding details.
This approach gives me a timeless foundation and makes later furniture choices much easier. I have found that simple planning creates a more practical space that grows naturally with the child.
Step 2: Sketch the Main Bed and Headboard
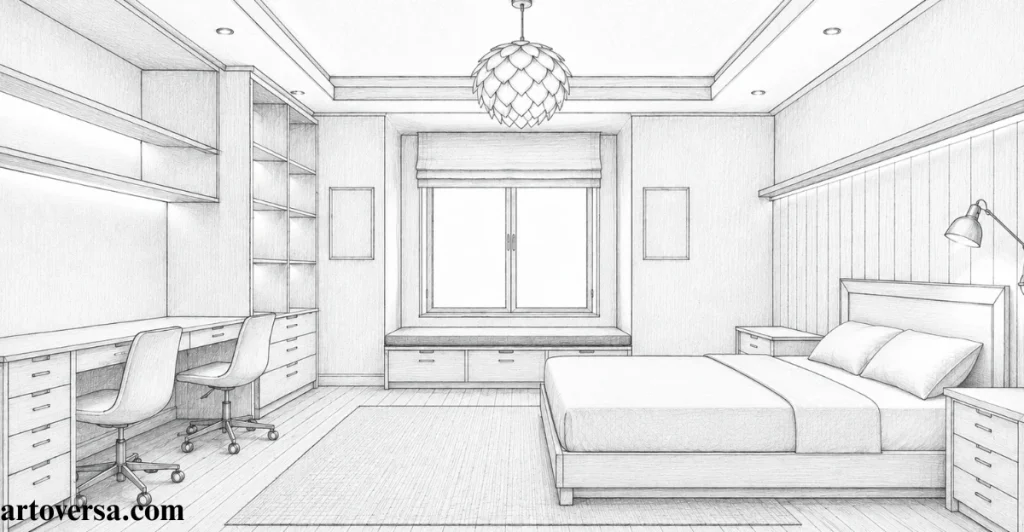
Build the main sleeping area with simple shapes so the bed feels comfortable, balanced, and easy to adapt.
- Start by sketching the mattress with light lines and keep its size balanced within the bedroom structure.
- Add the headboard behind the mattress and give it a simple shape that suits the timeless design.
- Draw the bed frame underneath and keep the structure clean without adding unnecessary details.
- Check the space around the bed so the flexible layout remains open and practical for daily use.
- Add basic pillows and bedding while keeping the overall look simple, calm, and suitable for different ages.
Common problems and how to overcome them
Many artists make the bed too large for the available space and leave little room around it. Keep the main sleeping area balanced so the flexible layout remains practical and comfortable.
I usually place the bed before adding other furniture because it becomes the main reference point for the room. Keeping its proportions simple helps create a timeless foundation that remains useful as the child grows.
Step 3: Add the Study Desk and Chairs
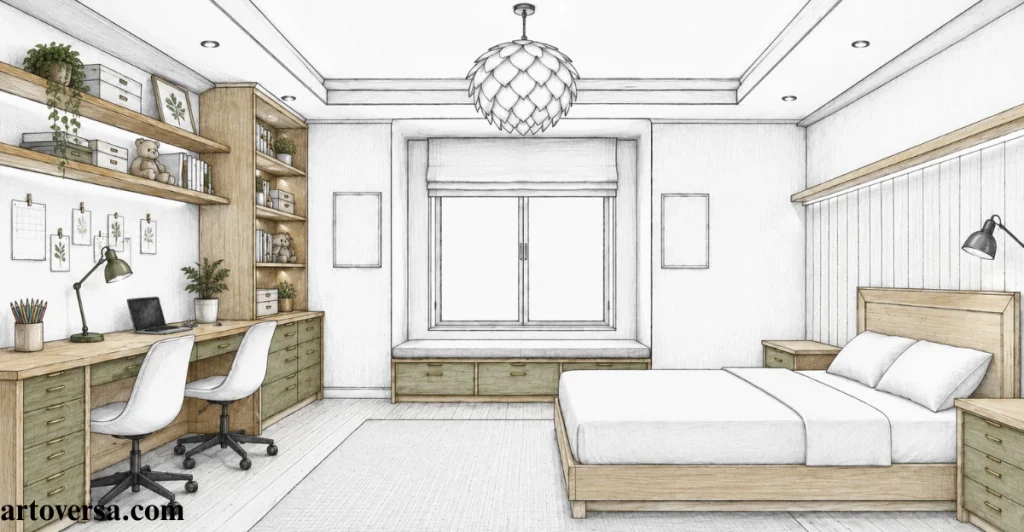
Add a simple study area that keeps the bedroom practical while leaving enough room for comfortable movement.
- Sketch the desk with clean lines and place it where it fits naturally within the bedroom layout.
- Add a comfortable chair beneath the desk and keep its proportions suitable for the child’s space.
- Leave enough space around the desk so the flexible layout does not feel crowded or difficult to use.
- Keep the desk design simple and neutral so it can remain useful as the child’s needs change.
- Add only basic details such as a small lamp or stationery items to support both function and beauty.
Common problems and how to overcome them
A common mistake is placing the desk too close to the bed or other furniture. Keep the study area open and balanced for easy movement. This helps the flexible layout stay comfortable for everyday activities.
From my experience, a simple desk works better than an overly detailed setup in a growing child’s room. I prefer leaving some open space around it because this makes the timeless design easier to update later.
Step 4: Draw the Window and Built-In Storage
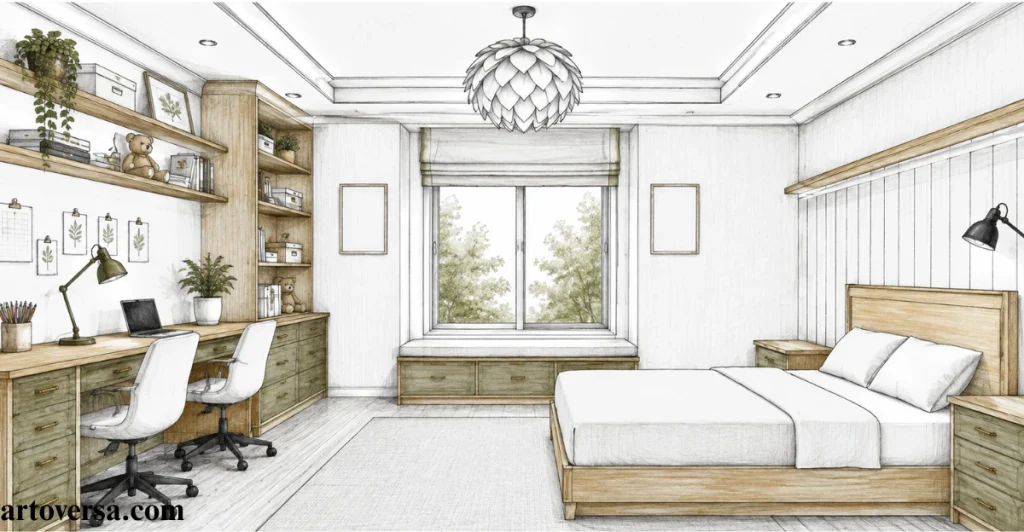
Add the window and storage carefully to bring natural light and practical organization into the growing bedroom.
- Sketch the window with simple straight lines and place it where it fits naturally within the bedroom structure.
- Add the built-in storage beside the window while keeping its size balanced with the surrounding furniture.
- Draw shelves or cabinets with clean shapes to create useful, adaptable storage without making the room feel crowded.
- Keep the window area open so natural light can make the kids’ bedroom feel calm and inviting.
- Check the storage placement with the existing flexible layout so everything remains easy to access and use.
Common problems and how to overcome them
A common mistake is making the storage too large or placing it too close to the window. Keep both areas balanced and leave enough open space for comfortable movement and future changes.
I usually plan the window and storage together because their placement can strongly affect the room’s overall balance. Keeping the storage simple creates a timeless design that remains practical as the child grows.
Step 5: Add the Shelves, Cabinets, and Drawers
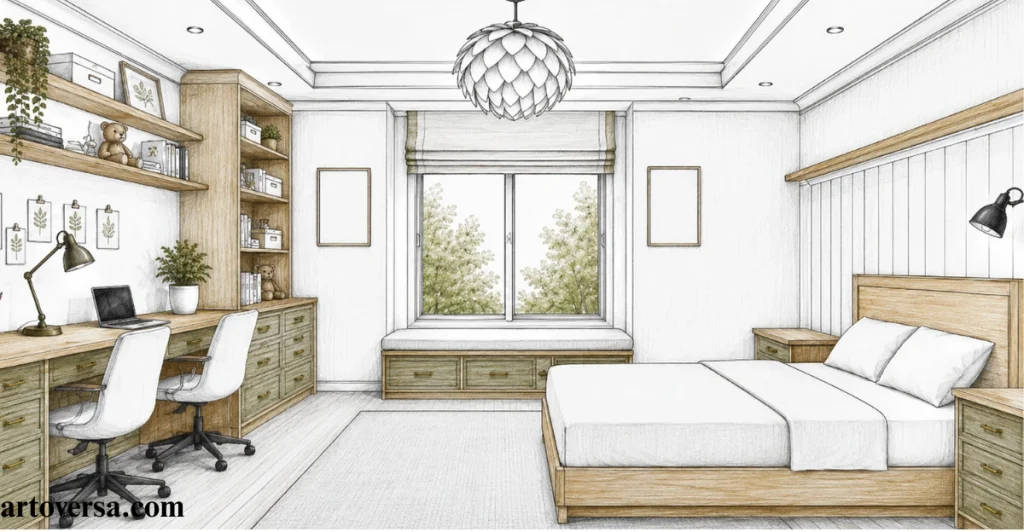
Build practical storage into the bedroom to keep everyday items organized while preserving a clean and adaptable look.
- Begin with the shelves and keep their width and height balanced with the existing bedroom structure.
- Add cabinets below or beside the shelves to create convenient, adaptable storage for clothes and belongings.
- Sketch drawers with simple shapes and even spacing so they look neat without adding unnecessary detail.
- Keep frequently used items within easy reach while placing less-used belongings in higher storage areas.
- Check the complete storage arrangement and make sure it supports the flexible layout without reducing useful floor space.
Common problems and how to overcome them
Overloading the room with too many storage units can make the kids’ bedroom feel cramped and difficult to use. Keep shelves, cabinets, and drawers proportionate so the space stays open and practical.
In my experience, built-in storage works best when each section has a clear purpose from the beginning. I prefer simple shelves and drawers because they create a timeless design that can remain useful through different stages of childhood.
Step 6: Add the Rug, Bench and Bedroom Accessories
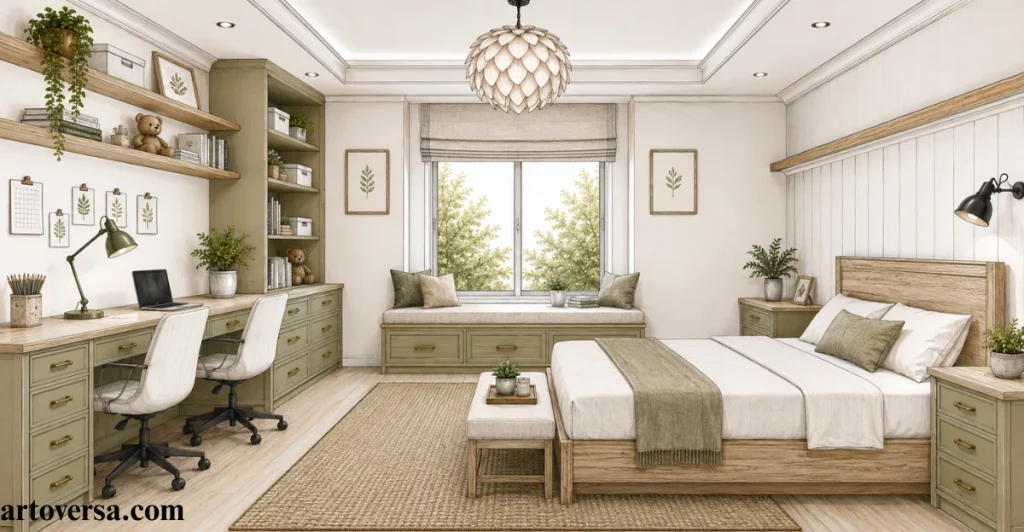
Bring warmth and personality into the room with a few simple details that complement the existing furniture.
- Place the rug beneath the main furniture and keep its size suitable for the available floor space.
- Sketch the bench near the bed or window while leaving enough room for comfortable movement around it.
- Add a few simple bedroom accessories such as cushions, books, or small decorative pieces.
- Keep the accessories subtle so the room feels inviting without becoming overly themed or visually crowded.
- Check how the rug, bench, and smaller details work together with the timeless design of the space.
Common problems and how to overcome them
Too many decorative items can quickly make a kids’ bedroom look busy and difficult to maintain. Choose a few useful pieces and keep enough open space for the room to feel comfortable.
I find that small touches often give the room more personality without changing its main structure. A well-placed rug and bench can make the space feel warmer while still keeping it practical for different ages.
Step 7: Add Lighting, Wall Art, and Decorative Details
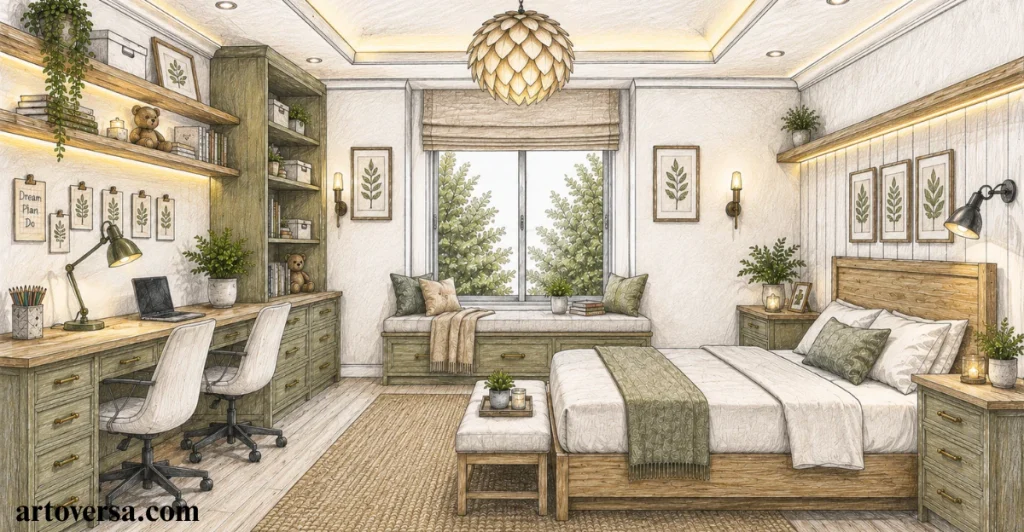
Finish the room with simple lighting and wall details that add character while keeping the overall design calm and adaptable.
- Sketch the main light fixture with simple lines and position it to provide balanced illumination across the bedroom.
- Add small wall art pieces above the bed or desk while keeping their placement neat and age-friendly.
- Include subtle decorative details such as framed pictures, plants, or small ornaments to give the room personality.
- Keep the colors and patterns balanced so these additions complement the existing timeless design.
- Review each detail with the flexible layout in mind and remove anything that makes the space feel crowded.
Common problems and how to overcome them
Using too many wall decorations can make the bedroom feel busy and difficult to update later. Choose a few simple pieces and leave enough open wall space for a cleaner appearance.
From my experience, thoughtful lighting can change the entire feeling of a kids’ bedroom without requiring major changes. I prefer simple wall art and subtle accents because they keep the room personal while remaining easy to refresh.
Step 8: Finalize the Complete Kids’ Bedroom Design
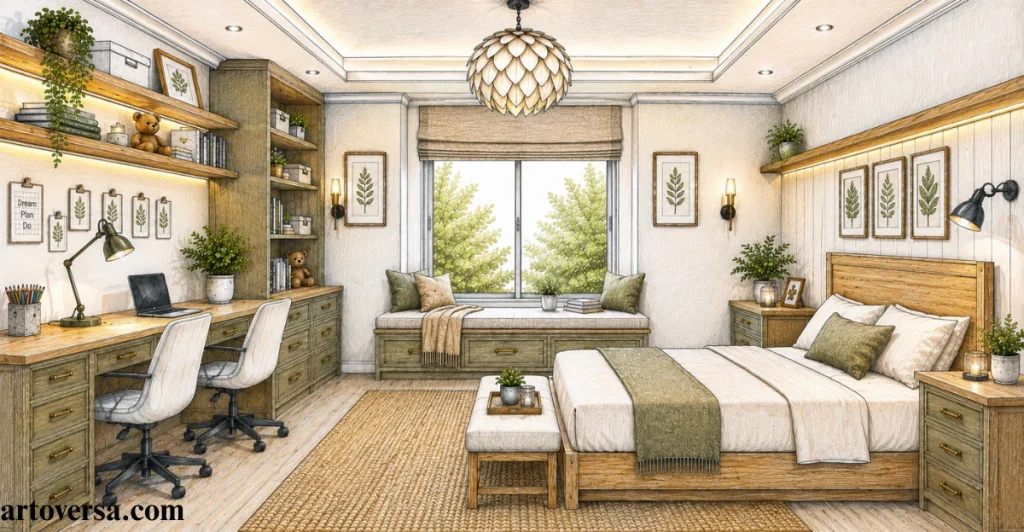
Bring all the elements together with simple finishing touches to create a balanced bedroom that feels practical and comfortable.
- Review the bedroom structure and fix any uneven lines around the walls, furniture and floor.
- Check the bed, desk, storage, and accessories to make sure the flexible layout feels balanced.
- Strengthen the main outlines and add light shading to give the drawing more depth.
- Add simple details that keep the design suitable for different ages and changing preferences.
- Finish each part carefully so the kids’ bedroom looks cohesive, practical, and inviting.
Common problems and how to overcome them
Rushing the final stage can leave uneven lines or make furniture look out of proportion. Review each section slowly and make small corrections to keep the design clean and balanced.
After completing a bedroom drawing, I always step back and review the whole design before adding the final details. This helps me notice spacing problems and keeps the flexible layout looking natural from start to finish.
Conclusion
Designing a kids’ bedroom that grows beautifully over time is all about choosing elements that can adapt with your child. Start with a simple layout that gives enough room for movement and future changes. Choose comfortable furniture that can remain useful as their needs and routines develop. Add smart storage to keep clothes, toys, books and personal items neatly organized. Timeless colors and subtle decorations make refreshing the room much easier later. Small personal touches can bring warmth without making the space feel too young. With thoughtful planning, you can create a comfortable, practical and beautiful bedroom that feels like home for years.
FAQs
How can I design a kids’ bedroom that grows with my child?
Choose simple furniture and timeless colors that can work through different stages of childhood. Keep the layout flexible so items can be changed without redesigning the entire room.
What furniture is best for a growing child’s bedroom?
Select comfortable and practical pieces that can remain useful as your child gets older. A simple bed, study desk and versatile storage can adapt to changing needs.
How can I keep a kids’ bedroom organized?
Use shelves, cabinets and drawers to give clothes, books, toys and personal items their own places. Keep frequently used belongings within easy reach for everyday convenience.
4. What colors work well in a timeless kids’ bedroom?
Soft neutral shades and gentle tones can create a calm background that suits different ages. You can add personality through bedding, artwork and small accessories that are easy to replace.
5. How much storage should a kids’ bedroom have?
Include enough storage for current belongings while leaving some room for future needs. A mix of drawers, shelves and cabinets can make organization easier without making the room feel crowded.
6. How can I make a kids’ bedroom feel personal without making it too young?
Add a few meaningful details such as framed artwork, cushions, books or favorite accessories. These small touches can show personality while keeping the main bedroom design simple and adaptable.
Please Write Your Comments