The Ultimate Guide to Drawing Flowers (Roundup Article)
Updated: October 10, 2026
7
Flowers are one of the most popular things to draw because they come in many shapes, sizes, and colors. From daisies and tulips to roses lilies and sunflowers, each flower has its own unique petals and natural details. You can find flowers in gardens, fields forests, and even inside homes, making them easy to observe and sketch. Drawing different flowers is a great way to improve your skills and create beautiful, realistic artwork. Discover simple flower drawing ideas and practice each one at your own pace. With regular practice, you’ll see your sketches become more natural and detailed.
Table of Contents
How to Draw Different Types of Flowers Easily
Explore each flower step by step and enjoy learning new sketching techniques that help you create more beautiful and realistic drawings with confidence.
Step 1: Gather Your Drawing Materials
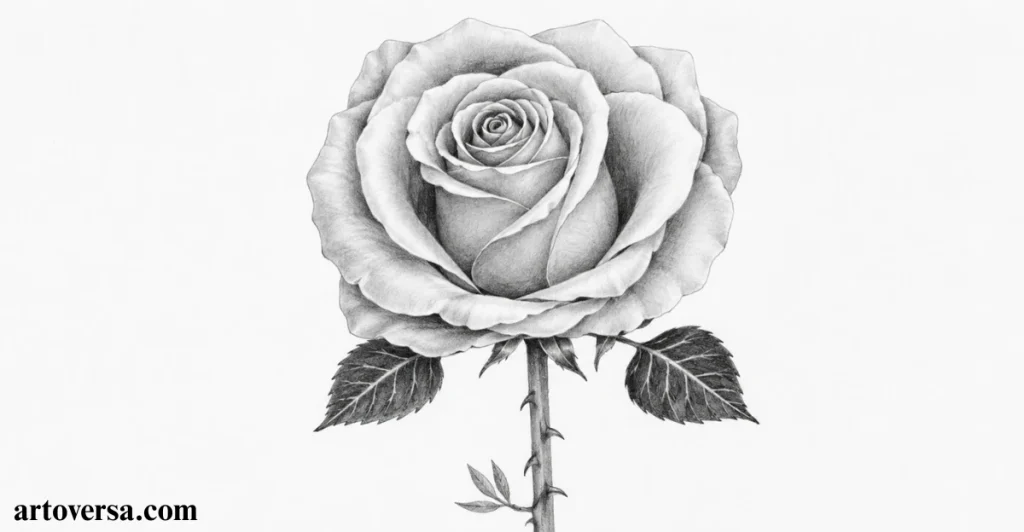
- Collect your graphite pencils, paper, eraser, and a blending stump before you begin.
- Arrange every tool within reach so you can focus on the drawing without
Interruptions.
- Keep your pencil tip sharp to create light and clean sketch lines.
- Test gentle pencil strokes on a spare sheet before touching the final paper.
- Prepare your workspace so everything is ready for the first outline.
Common problems and how to overcome them
Many beginners start without the right materials, making the sketch harder to control. A dull pencil often creates rough lines that are difficult to refine. Keeping your tools ready before drawing makes the entire process much smoother.
When I first started drawing roses, I skipped preparing my tools and kept stopping during the sketch. After organizing everything before I began, I noticed my drawings became much cleaner and far more enjoyable to complete.
Step 2: Build the Rose with Colored Pencils
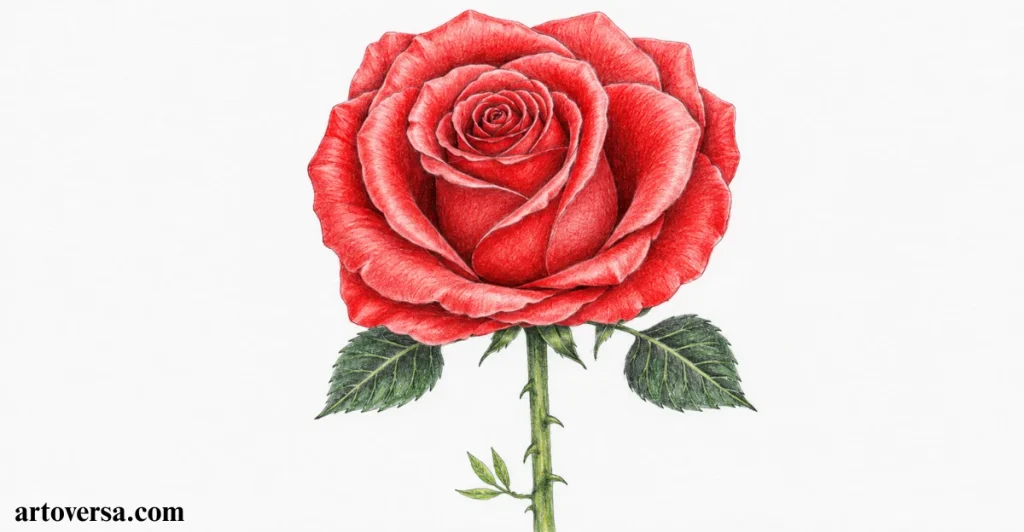
- Begin by choosing colored pencils that match the natural shades of a rose.
- Start with light colors and slowly build soft layers over the basic sketch.
- Continue adding deeper tones to give each petal more depth and definition.
- Blend the colors gently so every transition looks smooth and realistic.
- Finish by refining the highlights and shadows to complete a vibrant rose drawing.
Common problems and how to overcome them
Many beginners press too hard with colored pencils, making the colors difficult to blend. Working with light layers first creates smoother shading and a more natural finish.
When I first started using colored pencils, the colors looked patchy because I pressed too hard. Working with light layers helped every shade blend more smoothly. After a few practice sessions, the rose looked softer and much more realistic.
Step 3: Understand the Beauty of Sakura Before Drawing
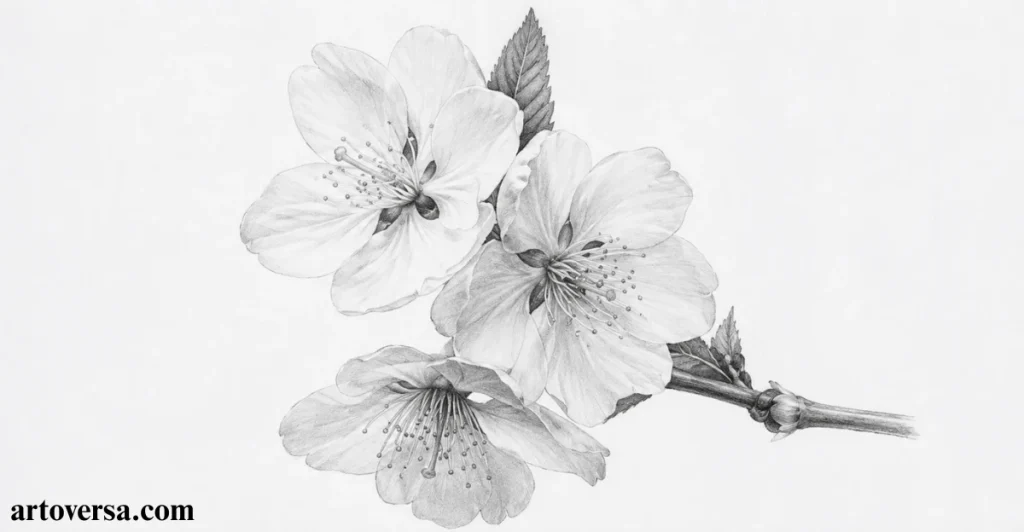
- Cherry Blossoms also known as Sakura, are admired for their soft petals and gentle beauty that makes every branch look elegant.
- That delicate appearance becomes even more special because these flowers bloom for only a short time each year.
- Their short blooming season reminds many people to enjoy beautiful moments while they last before they fade away.
- Understanding the story behind Sakura helps you capture more feeling and character in every flower you draw.
- With that inspiration in mind, you can begin sketching Cherry Blossoms with greater confidence and a deeper appreciation.
Common problems and how to overcome them
Many beginners focus only on the petals and forget the soft, delicate feel that makes Sakura unique. Drawing heavy outlines often removes their natural beauty. Use light strokes and keep the flowers airy from the start.
When I first started drawing Cherry Blossoms, every flower looked too bold and crowded on the branch. Using softer lines and leaving small spaces between the blooms made the artwork feel much more natural. That simple change gave each Sakura sketch a lighter and more realistic look.
Step 4: Study the Orchid Structure Before Drawing
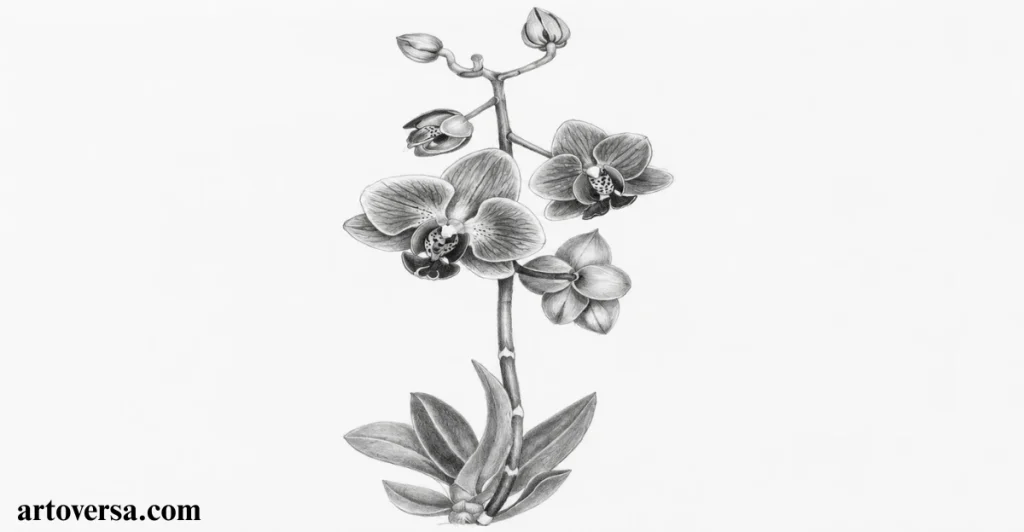
- Begin by observing the Orchid carefully and notice how each part connects before making the first sketch.
- Focus on one section at a time by drawing the lateral petals before moving to the dorsal sepal and lateral sepals.
- Continue by shaping the center and carefully add the column with the labellum or lip in its correct position.
- Compare every part with your reference photo so the flower keeps its natural balance and realistic appearance.
- Once each section fits together smoothly, the complete moth orchid becomes much easier to draw with confidence.
Common problems and how to overcome them
Many beginners try to draw the entire Orchid at once and lose the correct shape of each part. This often creates uneven petals and an unbalanced center. Work on one section at a time and keep checking the reference photo.
When I first started drawing a moth orchid, every petal looked different because I focused on the whole flower instead of each section. Breaking the structure into smaller parts made every step easier to follow. That simple approach helped the Orchid look much more realistic and balanced.
Step 5: Draw Bright and Cheerful Cosmos Flowers
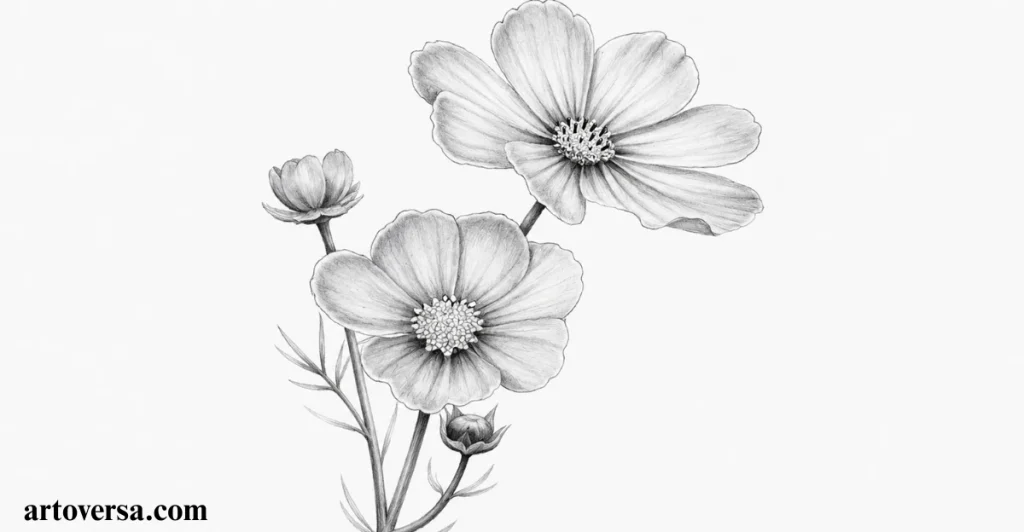
- Cosmos Flowers are a wonderful choice whenever you need fresh drawing inspiration and want to enjoy a relaxing sketching session.
- Their simple petal arrangement makes the flower easy to build before adding more realistic details.
- Next observe the beautiful shades of pink orange, red and yellow to understand their natural color variety.
- After that, apply those colors gradually so every petal keeps a soft and balanced appearance.
- Finally, refine the complete flower while preserving the light and graceful look that makes Cosmos Flowers so charming.
Common problems and how to overcome them
Another common mistake is adding strong colors before completing the flower structure. This often hides the natural petal shape and makes the drawing look uneven. Finish the sketch first, then build the colors with light layers.
At the beginning, Cosmos Flowers always seemed too simple, so I rushed through the petals without paying much attention. Spending more time on the basic outline completely changed the final result. Since then, adding the bright colors has felt much easier and more natural.
Sunflowers
Bring the beauty of a sunflower to life by following each step with patience and confidence while enjoying the simple process of creating a natural and realistic flower drawing.
Step 1: Observe the Unique Beauty of Sunflowers
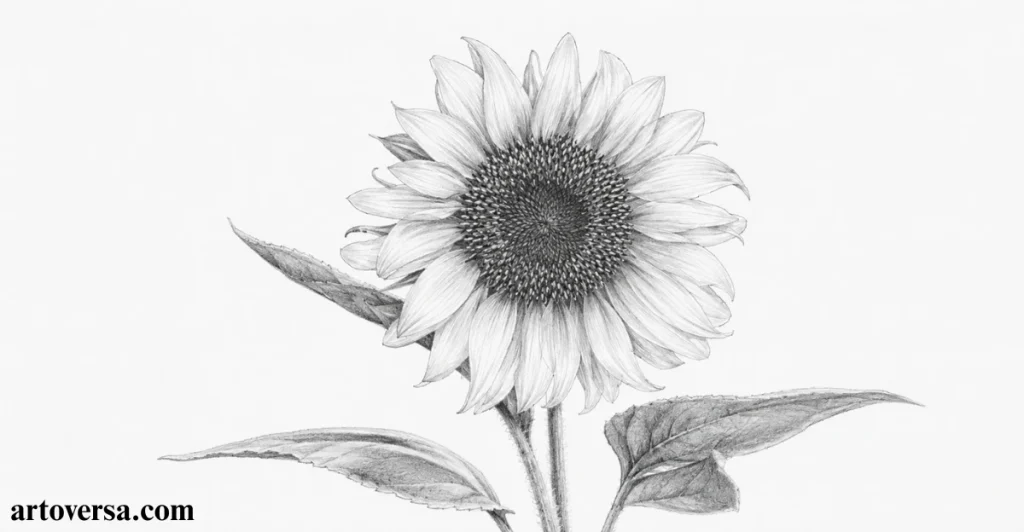
- Begin by looking at Sunflowers closely and notice how the young blooms naturally turn toward the sunlight throughout the day.
- That movement makes the flower even more interesting and helps you understand its natural form before sketching.
- Next study the large petals, rich brown center, and the different color combinations found in each variety.
- One striking example is the Ring of Fire Sunflower with its golden petal edges, a ring of red, and a deep chocolate-colored center.
- With those details in mind, you can confidently start drawing a beautiful Sunflower that feels lively and realistic.
Common problems and how to overcome them
A frequent mistake is focusing only on the bright petals while ignoring the proportions of the flower center. This often makes the sketch look unbalanced. Observe the full structure first before adding colors and fine details.
During my first Sunflower sketch, the flower looked flat because I paid attention only to the petals. Taking time to study the Ring of Fire Sunflower helped me understand its unique shape and color pattern. That simple observation made every new drawing look far more natural and detailed.
Step 2: Build the Peony with Simple Layers
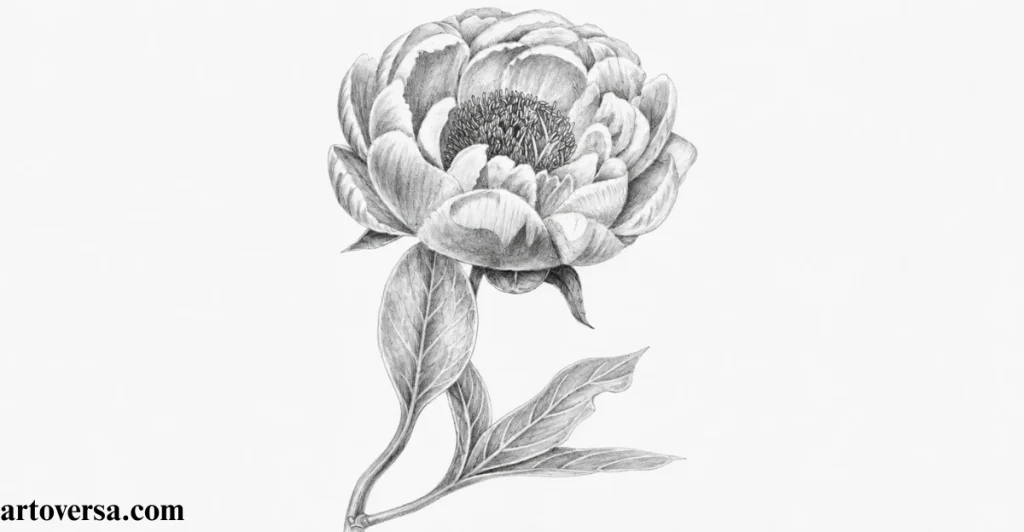
- Begin with a light basic sketch and block the overall Peony shape before drawing the petals.
- From that outline, add the large outer petals first and continue working toward the center in gentle layers.
- As the flower takes shape, refine the ruffled edges to give every petal a soft and natural appearance.
- Next, apply smooth shading and subtle texture techniques to create depth without making the drawing look heavy.
- Finally, review the complete floral sketch and make small adjustments until the Peony looks balanced and realistic.
Common problems and how to overcome them
Some artists draw every petal at once, making the Peony look confusing and uneven. Building the flower layer by layer keeps the shape organized and makes shading much easier to control.
At the beginning, the many Peony petals felt overwhelming, and the sketch often lost its shape. Drawing the flower one layer at a time made every step much easier to follow. That simple habit gave the final sketch a cleaner and more realistic finish.
Step 3: Draw Hibiscus Flowers with Simple Shapes
- Start by observing Hibiscus Flowers and notice the large petals and the long center that give them their bold appearance.
- Once the overall shape feels clear, sketch a light outline so each petal has enough space to flow naturally.
- Then refine the wide petals one by one and carefully shape the long center without rushing the details.
- After the structure is complete, smooth the edges and adjust the curves to keep the flower soft and balanced.
- Finally, review the entire Hibiscus sketch and make small corrections until every part looks realistic and complete.
Common problems and how to overcome them
One detail often overlooked is the size of the flower center compared to the petals. An oversized or misplaced center can affect the whole drawing. Keep checking the proportions as you build the sketch.
My earliest Hibiscus Flowers sketches looked more difficult than they really were because I focused on every detail too soon. Breaking the flower into simple shapes made the process much easier to follow. That small change gave each sketch a cleaner and more natural finish.
Step 4: Build a Realistic Lily Sketch
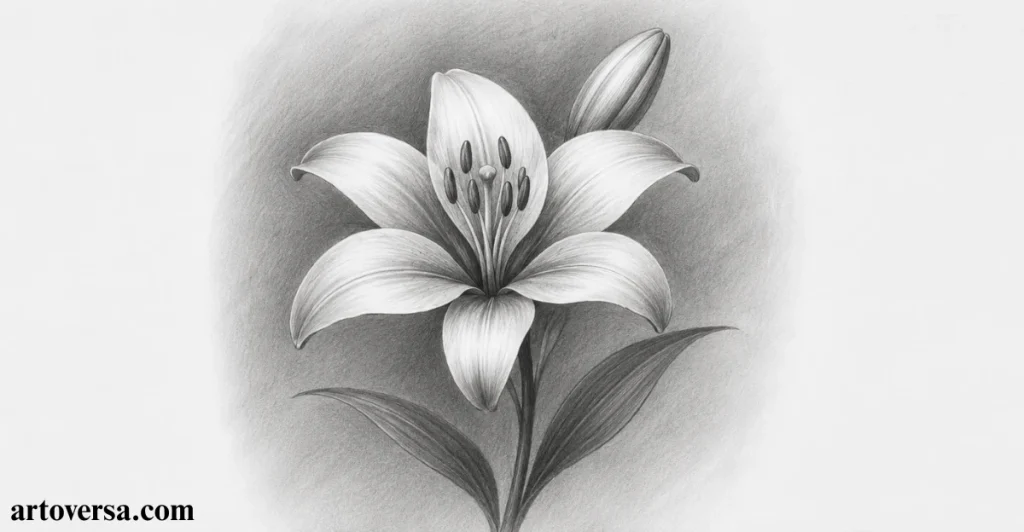
- Begin with a light outline and study the graceful shape of the flower before adding any details.
- Next, arrange the wide petals one by one so each layer flows naturally toward the center
- Continue refining the inner section by keeping every curve soft and balanced throughout the drawing.
- After the structure feels complete, add gentle shadows to create depth and highlight the elegant form.
- Finish by checking the entire sketch and making small corrections until the artwork looks clean and realistic
Common problems and how to overcome them
A frequent mistake is drawing the petals with the same angle and size, which makes the oriental lilies look flat. Observe how each petal opens in a different direction before adding the shading.
Looking back at my first Lily Flower Drawing, the petals looked stiff because I rushed the early sketch. Slowing down and refining one section at a time made the flower much easier to complete. That steady approach gave the final drawing a softer and more realistic finish.
Step 5: Sketch Elegant Tulips with Graphite Pencils
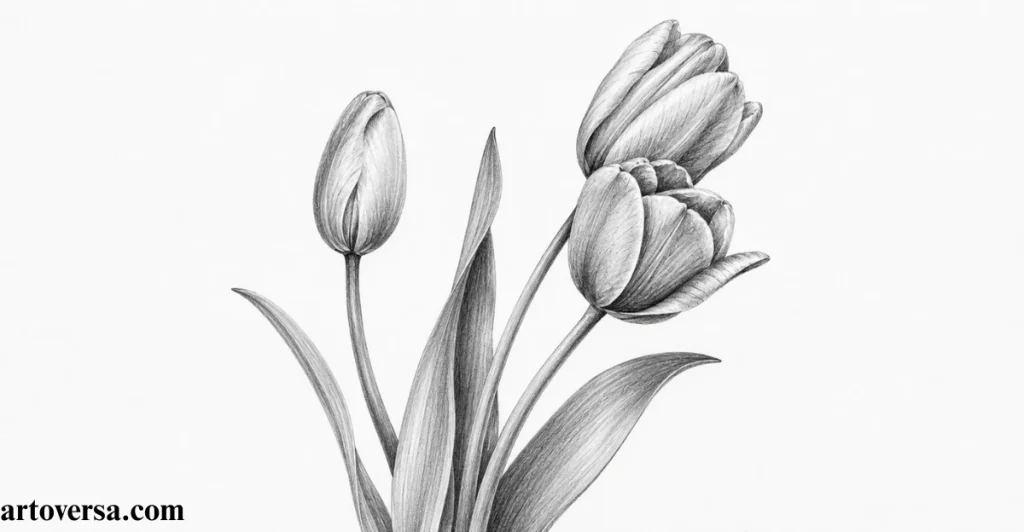
- Begin by observing the graceful bloom and notice how each petal wraps neatly around the flower before making the first outline.
- Once the basic form is in place, use graphite pencils to build smooth lines and keep the structure light and well balanced.
- From there, refine the curved edges carefully and allow every layer to connect naturally with the next.
- Then add soft shadows to create depth while preserving the clean and elegant appearance of the bloom.
- Finally, review the complete artwork and make small refinements until the flower looks realistic and full of life.
Common problems and how to overcome them
A frequent mistake is making the petals too open or drawing the bloom without its natural shape. This often removes the graceful look of the flower. Keep the outline simple and compare each layer before adding darker tones.
One lesson I learned early was that simple flowers often need more observation than complicated ones. Spending extra time studying the petal flow made every sketch feel more balanced. Since then, working with graphite pencils has helped create cleaner and more natural results.
Step 6: Create a Lotus Flower with Patience
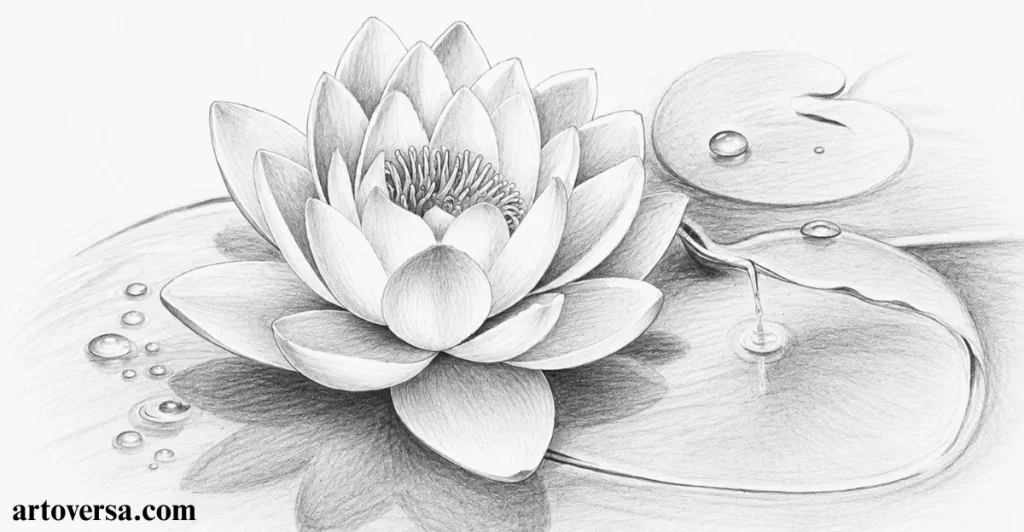
- Study the Lotus Flower carefully and understand how the petals spread evenly around the center before making the first sketch.
- Create a light foundation that keeps the flower balanced and gives every petal the right position to develop naturally.
- Continue shaping each layer with smooth curves so the bloom grows outward in a soft and realistic pattern.
- Add gentle shading to enhance the depth while reflecting the peaceful meaning of rebirth, spiritual awakening, and resilience.
- Finish by refining the overall artwork with small adjustments until the flower appears elegant, balanced, and true to nature.
Common problems and how to overcome them
One common challenge is placing the petals unevenly, which can affect the flower’s symmetry. Sketch the center first and use it as a guide while adding each new layer. This keeps the overall structure balanced from start to finish.
During my early practice drawing this flower taught me the value of slowing down instead of rushing every step. Careful observation made the petal arrangement much easier to understand. That patient approach improved both the sketch and my overall drawing confidence.
Step 7: Add Color and Character to the Daffodil
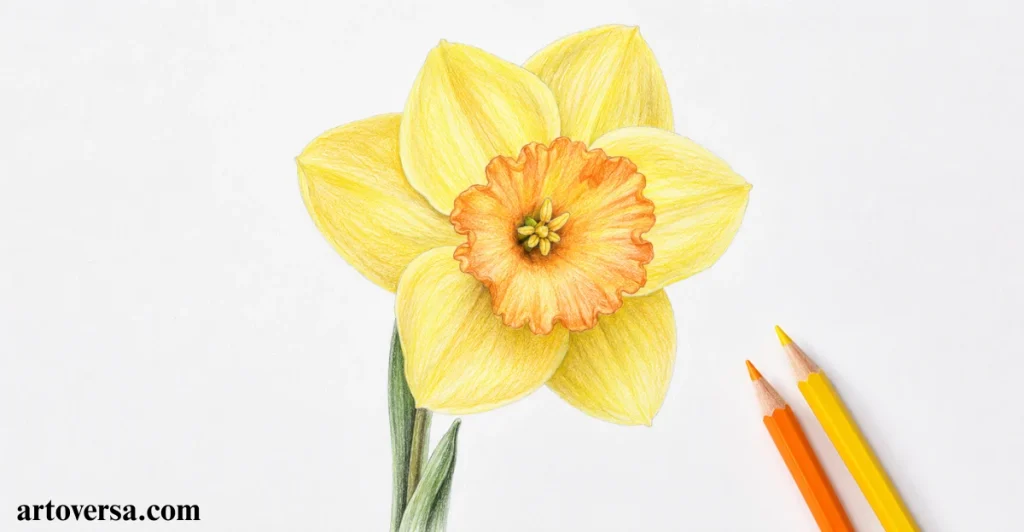
- Pick up your colored pencils and lightly map the flower so the trumpet center and surrounding petals stay well proportioned.
- With the outline ready, shape each section carefully and leave enough space for smooth color transitions later.
- Soft yellow tones can now be layered gradually while deeper shades bring extra depth without overpowering the bloom.
- A few gentle highlights help express the feeling of renewal hope and quiet resilience that this flower represents.
- Small finishing adjustments complete the illustration and give the artwork a fresh, natural appearance.
Common problems and how to overcome them
Another issue appears when bright colors are applied before the structure is complete. This makes corrections difficult and reduces the softness of the petals. Finish the sketch first, then build the colors little by little.
After a few attempts, I realized smooth color transitions mattered more than using darker shades. Working patiently with light layers produced a much softer finish. That habit made every daffodil drawing look cleaner and more realistic.
Conclusion
Drawing flowers is a wonderful way to improve your artistic skills while enjoying the beauty of nature. Each flower offers a new lesson, from creating simple shapes to adding realistic details with shading and texture. By practicing these step-by-step techniques, your confidence and creativity will grow naturally. Remember that every great sketch begins with patience and careful observation. Keep exploring new flower designs and continue improving your skills. With time and practice your drawings will become more detailed balanced, and full of life.
FAQs
What is the best flower for beginners to draw?
Daisies and tulips are perfect for beginners because their shapes are simple and easy to follow. They help you learn the basics without feeling overwhelmed. As your confidence grows, you can move on to more detailed flowers.
What tools do I need to draw flowers?
A pencil paper, eraser and blending stump are all you need to get started. Colored pencils are a great choice if you want to add realistic details. Simple tools are enough to create beautiful sketches.
How do I make my flower drawings look realistic?
Start by observing the flower carefully before making the first sketch. Use light lines and add shading little by little for a natural look. Practice regularly to improve your drawing skills over time.
Should I draw the outline before adding color?
Yes always finish the outline before you begin coloring. A clear sketch helps you place colors in the right areas. It also makes blending and shading much easier.
Why do my flower drawings look unbalanced?
This usually happens when the petals or shapes are not evenly placed. Draw the flower one section at a time and check the proportions often. Taking your time will give you a cleaner result.
How can I improve my flower drawing skills?
Practice drawing different flowers as often as you can. Study real flowers to understand their shapes and details before sketching. With patience and regular practice, your drawings will become more natural and realistic
Please Write Your Comments