How to Choose the Perfect Home Plan Design for Your Plot Size
Updated: September 12, 2026
39
Choosing the right home plan starts with understanding how your plot can best be used. A good design should balance the available space with your lifestyle and daily needs. Plot size, room placement, natural light, ventilation and future requirements all play an important role. Even a small plot can feel spacious when the layout is planned thoughtfully. The right home plan helps you create a comfortable and practical space without wasting valuable area. Explore smart home plan ideas and find a layout that fits your space beautifully.
Table of Contents
10-Step Guide to Creating the Perfect House Plan Design
Turn your ideas into a practical and beautiful home with these simple steps for planning a house that fits your space, lifestyle and everyday needs.
Step 1: Create the Basic House Map Layout
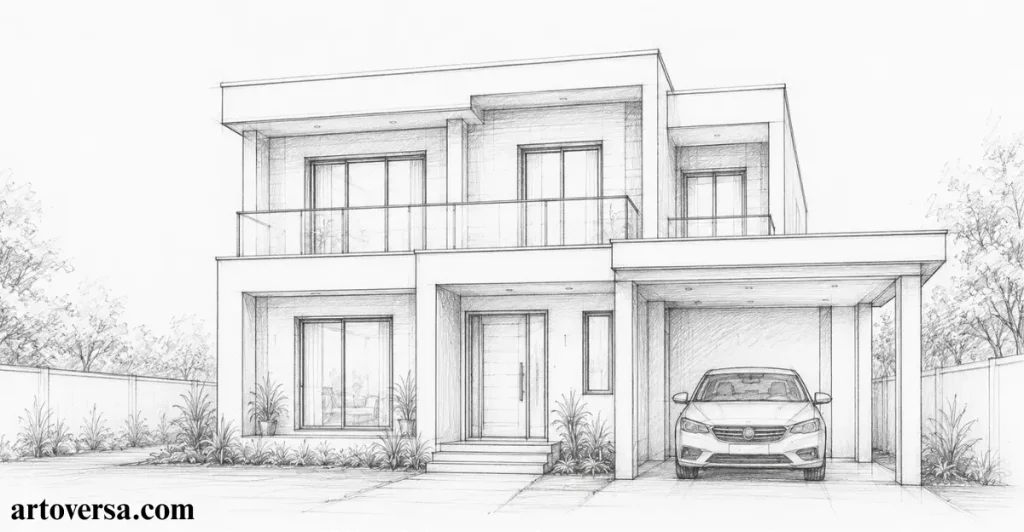
Start with a clear house map design that fits your plot size and gives you a strong base for planning the rest of the home.
- Mark the exact plot boundaries first so the house plan design stays within the available space.
- Divide the area into simple sections for rooms, parking and open spaces without making the layout feel crowded.
- Keep enough movement space between different areas so the home remains comfortable for daily use.
- Plan the entrance and open areas carefully to support good light and ventilation throughout the house.
- Leave some room for future changes such as another floor or an additional room.
Common problems and how to overcome them
Many people try to fit too many rooms into a small area, which makes the home feel tight. Start with the main spaces and keep enough room for movement. This makes the house plan design easier to adjust later.
When I first planned a house map design, I tried to use every part of the plot. The result felt crowded, and the movement between rooms was not smooth. After leaving more open space, the overall house blueprint design became much more comfortable.
Step 2: Plan the Ground-Floor Home Layout
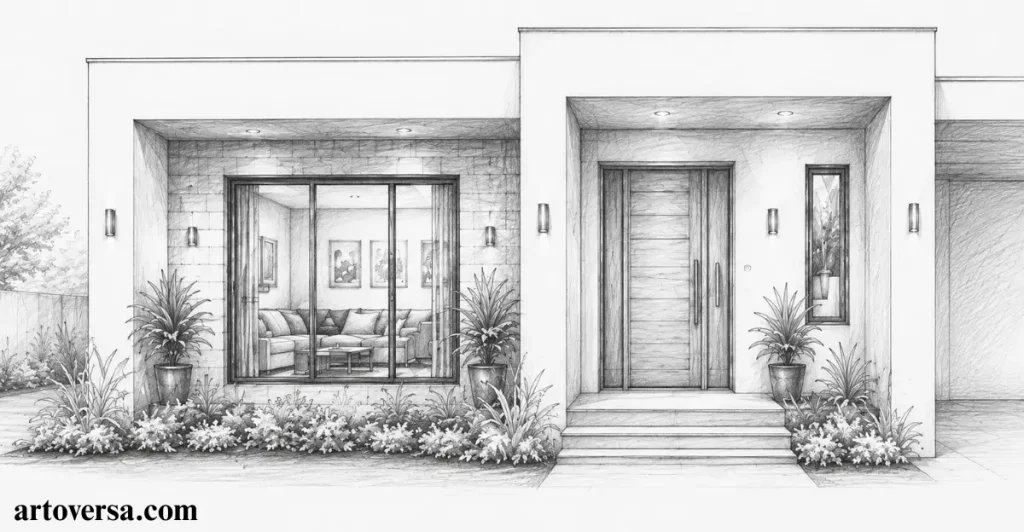
Plan the ground floor around your daily routine, so every part of the home plan design feels connected and easy to use.
- Start by placing the main living area where it can connect naturally with the entrance and other important parts of the ground floor.
- Arrange the bedrooms in suitable positions while keeping privacy and comfortable movement in mind.
- Add a practical dining area near the kitchen so daily activities can flow smoothly between both spaces.
- Keep the house plan drawing simple by avoiding long corridors and using the available floor area wisely.
- Place bathrooms where they can be reached easily without disturbing private bedroom spaces.
- Check the full ground-floor arrangement to make sure the house map design provides enough room for movement and future changes.
Common problems and how to overcome them
A common mistake is placing rooms without thinking about how people will move between them. Keep frequently used areas close together and avoid unnecessary passages. A simple arrangement can make the ground floor feel much more spacious.
When I first planned a ground-floor layout, I gave too much space to one area and left other rooms feeling restricted. Changing the room positions created a smoother flow across the home. That small adjustment made the entire home plan design feel more balanced.
Step 3: Add the Car Parking Area
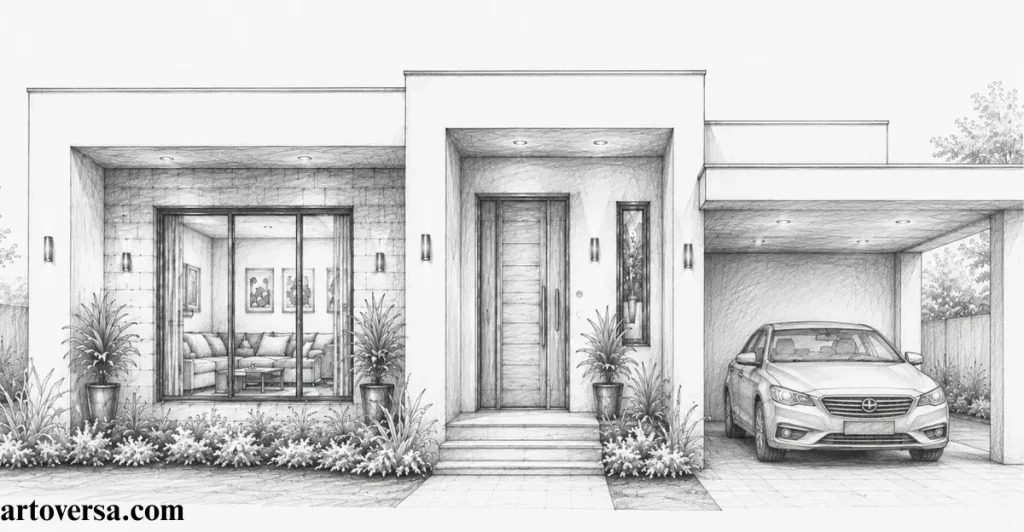
Add a practical parking space that gives the car easy access without taking away useful room from the house plan design.
- Mark the parking area near the main entrance so the vehicle can enter and leave without disturbing the home’s daily movement.
- Check the available width and length to make sure the space can comfortably fit the required vehicle.
- Keep enough room around the parking area for opening doors and walking safely toward the entrance.
- Connect the parking zone with the main entrance through a simple path that feels natural and convenient.
- Avoid placing the car area where it blocks windows or reduces useful open space around the home.
Common problems and how to overcome them
Poor parking placement can make the entrance difficult to access and leave little room for turning the vehicle. Check the entry path before fixing the position. Keeping the parking zone simple can prevent these issues.
While planning a home layout, I once placed the parking too close to the entrance. The vehicle could fit, but moving around it felt uncomfortable. Shifting the position slightly created a much smoother connection between the driveway and doorway.
Step 4: Arrange the Living Room and Main Entrance
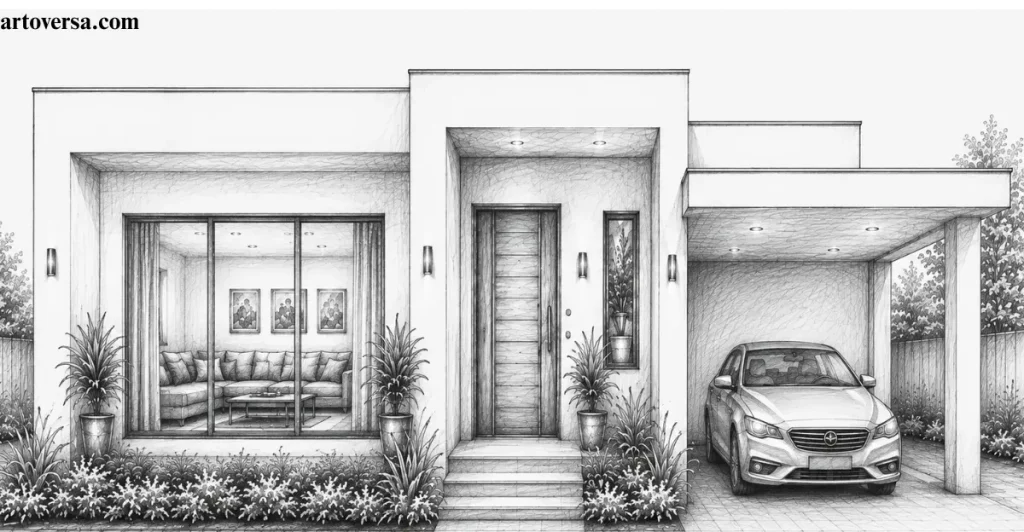
Create a welcoming entrance that connects naturally with the living area and keeps the home plan design easy to navigate.
- Place the main entrance where visitors can enter the home without crossing private areas or disturbing other rooms.
- Position the living room close to the entrance so it becomes an easy gathering space for family members and guests.
- Keep enough open area around the seating zone so movement remains comfortable and the room does not feel crowded.
- Use the house plan drawing to check the relationship between the entrance and nearby spaces before fixing their final positions.
- Plan windows around the living area to bring in natural light while supporting better ventilation inside the home.
Common problems and how to overcome them
Placing the entrance too close to private rooms can reduce privacy and make the home feel less organized. Keep the main doorway connected to a welcoming common area. This creates a better transition between the outside and inside.
I once worked on a layout where the living room was placed far from the main entrance. Guests had to pass through other areas before reaching it. Moving the room closer to the doorway made the layout feel more natural and improved the overall flow.
Step 5: Plan the Bedrooms and Private Spaces
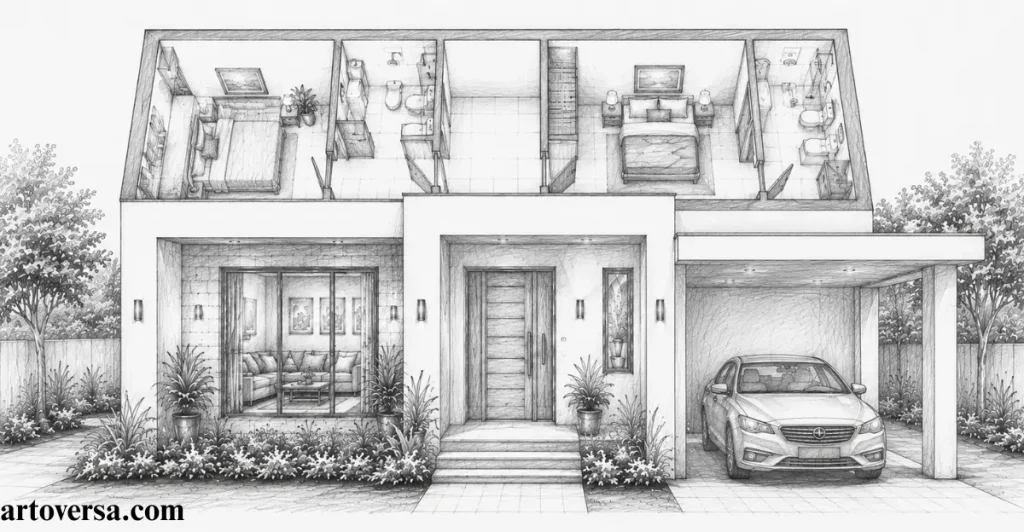
Arrange the bedrooms with enough room for comfort and privacy while keeping the home plan design practical for daily living.
- Place the main bedroom away from busy areas so it offers a quieter space for rest and privacy.
- Position additional bedrooms where family members can reach them easily without disturbing the common areas.
- Keep enough space around each bed for comfortable movement and useful furniture placement.
- Use the house plan drawing to check window positions and allow natural light to reach each bedroom.
- Plan private spaces with nearby bathrooms where possible so everyday routines remain convenient.
Common problems and how to overcome them
Bedrooms can become uncomfortable when their size is reduced just to create larger common areas. Give each private space enough room for movement and furniture. A balanced layout will make the rooms easier to use.
A bedroom layout where the rooms looked good on paper but felt tight after adding furniture. Adjusting the room proportions solved the problem without changing the whole plan. Since then, I always check usable space before finalizing bedroom positions.
Step 6: Add the Kitchen and Dining Area
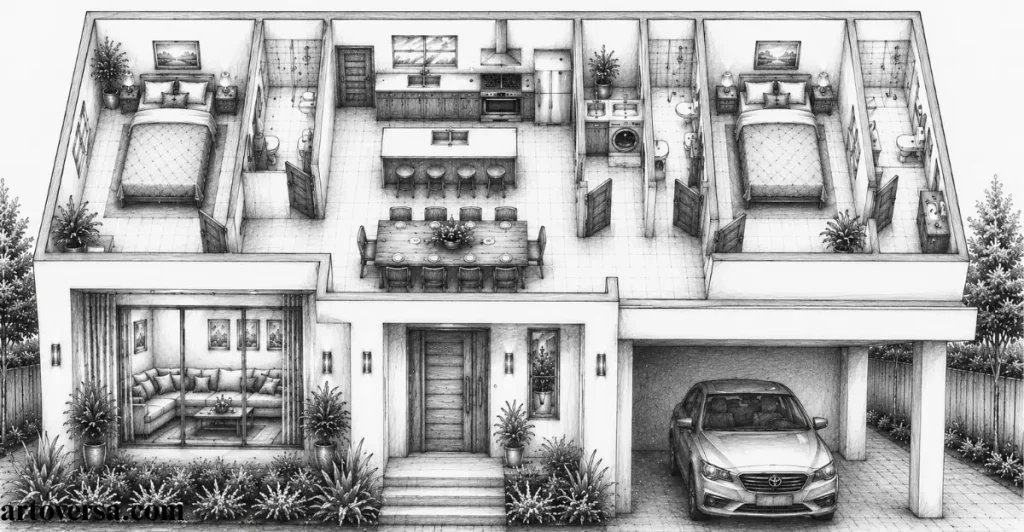
Plan the kitchen and dining area together so the home plan design feels practical and comfortable for everyday meals.
- Place the kitchen where it connects easily with the dining area without blocking the main movement path.
- Keep enough working space around the kitchen counters so cooking remains comfortable and organized.
- Position the dining area close enough to the kitchen for easy serving while keeping it connected to the common spaces.
- Use the house plan drawing to leave room for windows or ventilation points around the kitchen.
- Check the complete house map design to make sure the kitchen and dining space fit naturally within the ground-floor layout.
Common problems and how to overcome them
Poor placement can make cooking areas feel isolated or create unnecessary movement between the kitchen and dining space. Keep both zones connected while leaving enough room for people to pass comfortably. This helps maintain a smooth daily routine.
One layout I worked on had a dining area that was too far from the kitchen. Serving meals became inconvenient, and the space felt disconnected. Bringing the two areas closer made the arrangement much more useful without needing extra floor space.
Step 7: Position Bathrooms and Utility Spaces
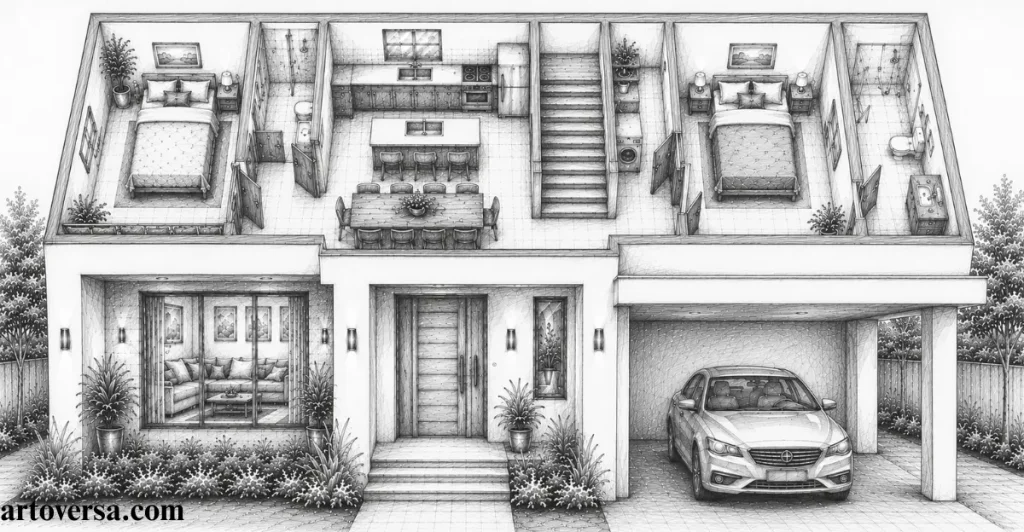
Place bathrooms and utility areas where they remain easy to access without affecting the comfort of the house plan design.
- Position bathrooms near bedrooms and common areas so family members can reach them without crossing private spaces.
- Keep enough room for basic fixtures while allowing comfortable movement inside each bathroom.
- Place utility areas close to the kitchen or service side of the home to make household tasks easier.
- Use the house plan drawing to check plumbing routes and avoid unnecessary changes between connected spaces.
- Review the house map design to ensure bathrooms and utility zones fit neatly without taking away valuable living space.
Common problems and how to overcome them
Bathrooms placed without proper planning can create awkward access and make plumbing work more complicated. Keep wet areas grouped where practical and provide suitable ventilation. This can make maintenance easier and keep the rest of the home comfortable.
In one layout I worked on, the utility area was placed far from the kitchen and daily tasks became inconvenient. Moving it closer created a much better working connection. The small change also gave the floor plan a cleaner and more practical flow.
Step 8: Plan the Staircase and Future Floor Access
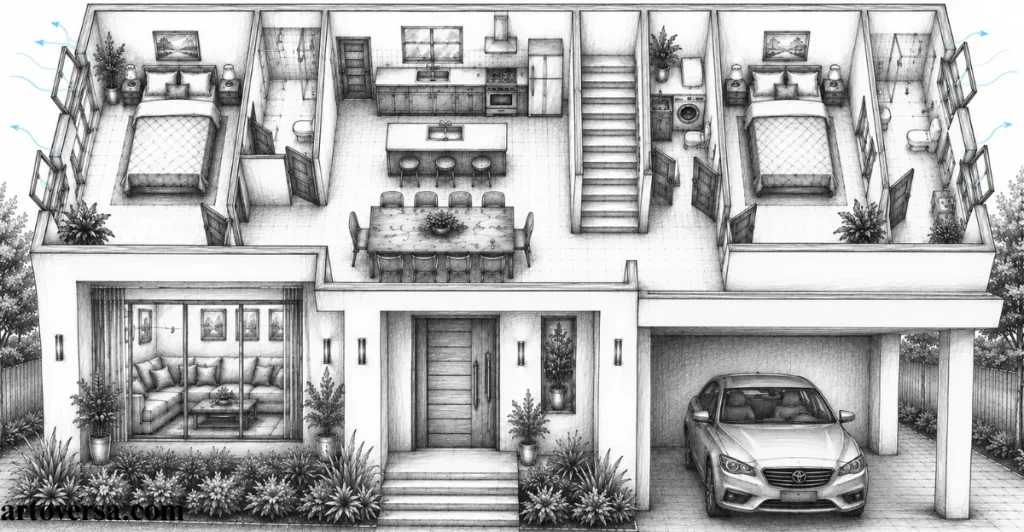
Position the staircase carefully so it supports smooth movement and leaves room for future expansion in the house plan design.
- Choose a staircase position that connects the ground floor with the upper level without taking too much usable space.
- Keep the stairs easy to reach from the main living areas while avoiding direct interference with private rooms.
- Allow enough width for comfortable movement and make sure the first few steps do not block nearby doors.
- Use the house plan drawing to check the staircase direction and leave suitable space for future floor access.
- Consider roof access or another level if the house blueprint design may be expanded later.
Common problems and how to overcome them
A poorly placed staircase can reduce room size and interrupt the natural movement of the home. Check the turning space and nearby door positions before fixing it. Planning this area early can prevent costly changes during construction.
During one house layout project, the staircase looked suitable at first but made a nearby passage feel narrow. Changing its position opened up the walkway without reducing the main room. That adjustment gave the house map design a much cleaner flow.
Step 9: Improve Natural Light, Ventilation, and Open Space
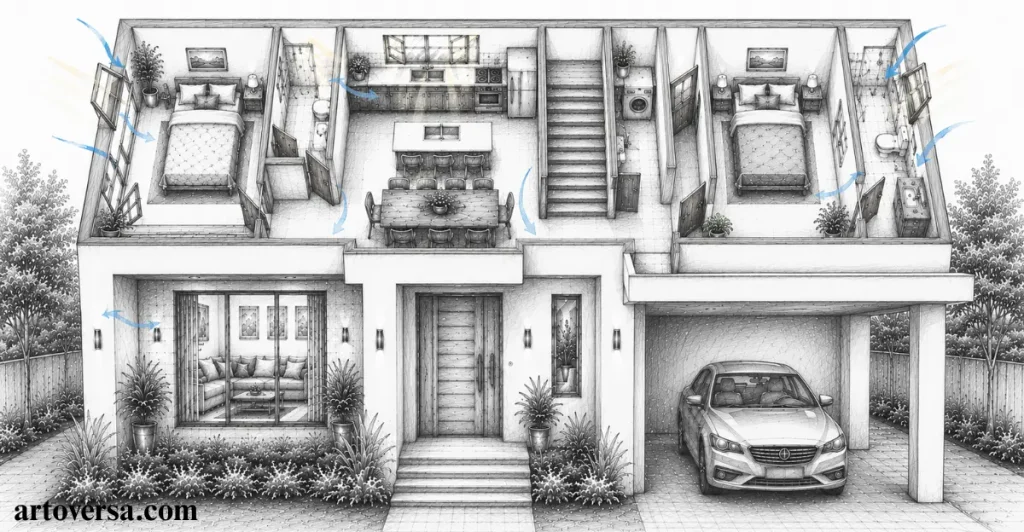
Use thoughtful openings and open spaces to make the house plan design feel brighter and more comfortable throughout the day.
- Add windows to important rooms so natural light can reach the interior without relying heavily on artificial lighting.
- Position openings on suitable sides of the house plan design to encourage fresh air to move through the home.
- Keep enough open space around the structure so rooms do not feel enclosed or poorly ventilated.
- Plan balconies and windows together with the house plan drawing to create better airflow between connected areas.
- Check the direction of sunlight before finalizing openings so the rooms receive useful daylight without unnecessary heat.
Common problems and how to overcome them
Small or poorly placed openings can leave rooms dark and make fresh air difficult to circulate. Avoid filling every part of the plot with construction. A little open space can make a noticeable difference to comfort and airflow.
In one layout I reviewed, the rooms had enough floor area but still felt closed because the openings were poorly positioned. After adjusting the windows and leaving more breathing room around the structure, the interior felt noticeably brighter.
Step 10: Finalize the Complete House Plan Design
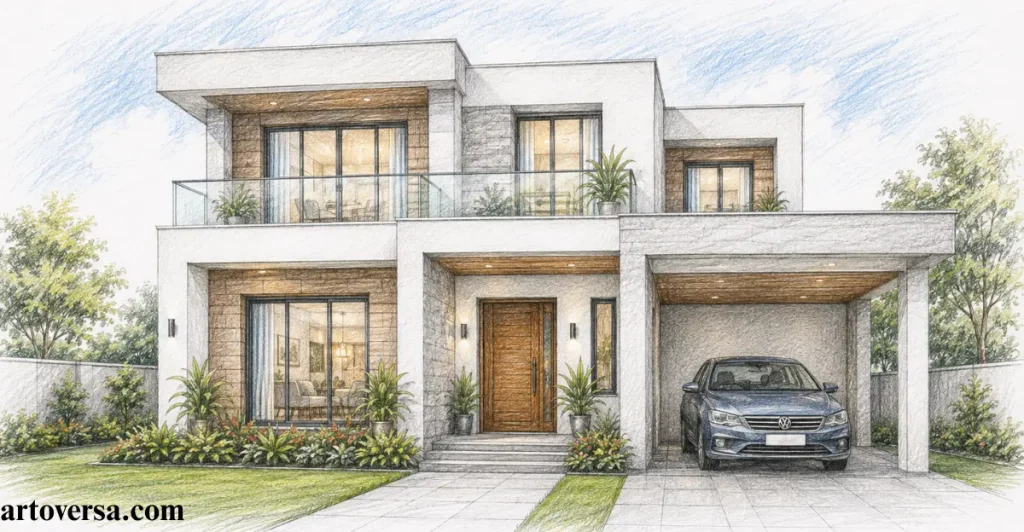
Review every part of the house plan design together before finalizing the complete layout.
- Check the room positions and make sure each area has a clear purpose within the overall house map design.
- Review the entrance, parking, bedrooms, kitchen, bathrooms and open areas to confirm that they work well together.
- Compare the final house plan drawing with the actual plot measurements and correct any space that feels too tight.
- Make sure windows, ventilation points and open areas provide enough comfort throughout the home.
- Check future expansion options so the layout can support changes without disturbing the existing structure.
Common problems and how to overcome them
Rushing the final review can leave small layout issues unnoticed until construction begins. Walk through the complete plan section by section and check how each space connects with the next. This makes it easier to catch practical problems before the design is finalized.
At the final stage, I always look at the layout as if I am walking through the finished home. This often reveals small issues that are easy to miss while viewing separate rooms. A final review can turn a basic plan into a much more practical home.
Conclusion
Choosing the right home plan design is all about making the best use of your available space. A well-planned layout keeps rooms comfortable while making everyday movement easier. From parking and entrances to bedrooms, kitchens, bathrooms and stairs, every area should work together naturally. Good lighting, ventilation and open space can also make the home feel brighter and more spacious. Reviewing the complete plan before construction helps catch layout problems early. With thoughtful planning, even a limited plot can become a practical and welcoming home. Take your time to create a house plan that suits both your current needs and future changes.
FAQs
How do I choose the right house plan for my plot?
Start by checking the plot size and decide how you want to use each area. A good house plan design should make daily living comfortable and keep the available space useful.
What should a complete house plan include?
A complete plan should include bedrooms, living areas, kitchen, bathrooms, parking, and staircase access. It should also provide enough space for movement and future needs.
Why is natural light important in house planning?
Natural light makes rooms feel brighter and more pleasant during the day. Well-placed windows can also improve airflow and make the interior feel more open.
Should I plan for future expansion?
Yes, future needs should be considered before construction begins. Proper planning can make it easier to add another floor or extra room later.
5. Why should I review the house plan before construction?
A final review helps you notice layout problems before work starts. It gives you a chance to improve room placement and make the entire home more practical.
Please Write Your Comments