5 Easy Steps to Drawing a Realistic Elk for Beginners
Updated: October 15, 2026
10
Drawing a realistic elk may seem challenging at first, but breaking the process into simple steps makes it much easier for beginners. Its large antlers, strong body, long legs and distinctive facial features, an elk is an excellent subject for practicing animal drawing. You can start with basic shapes, gradually add the important details and use shading to create a more natural appearance. These five easy steps to drawing a realistic elk will guide you through the process, helping you build confidence and create a detailed drawing with simple techniques.
Table of Contents
Step 1: Sketching the Elk Outline
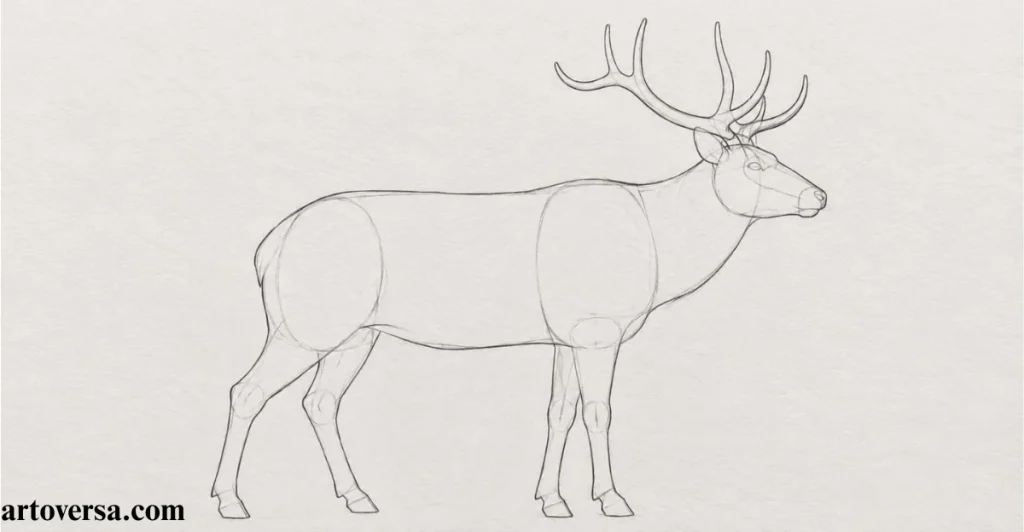
Start your elk drawing by carefully observing a reference photo and identifying the basic shapes of the head, neck and antlers.
- Sketch the head skull forehead nose jaw and cheeks using light pencil strokes to establish accurate proportions.
- Position the eyes and ears carefully keeping the eye size realistic and leaving a small highlight area for negative shading.
- Observe the head’s angle and tilt to create a natural expression whether the elk looks alert, powerful or relaxed.
- Draw the thick neck and darker mane around the head and neck to represent the characteristic appearance of a bull elk.
- Study a reference photo to sketch the main antler beams first then add individual tines while maintaining a balanced structure.
In my drawing practice, I find that establishing the head proportions early makes the entire sketch easier to manage. Light guidelines help me correct the placement of the eyes and ears without damaging the paper. I also focus on the main antler beams before adding smaller branches. This approach creates a more balanced and realistic elk portrait.
Step 2: Capturing the Dark Values Across the Drawing
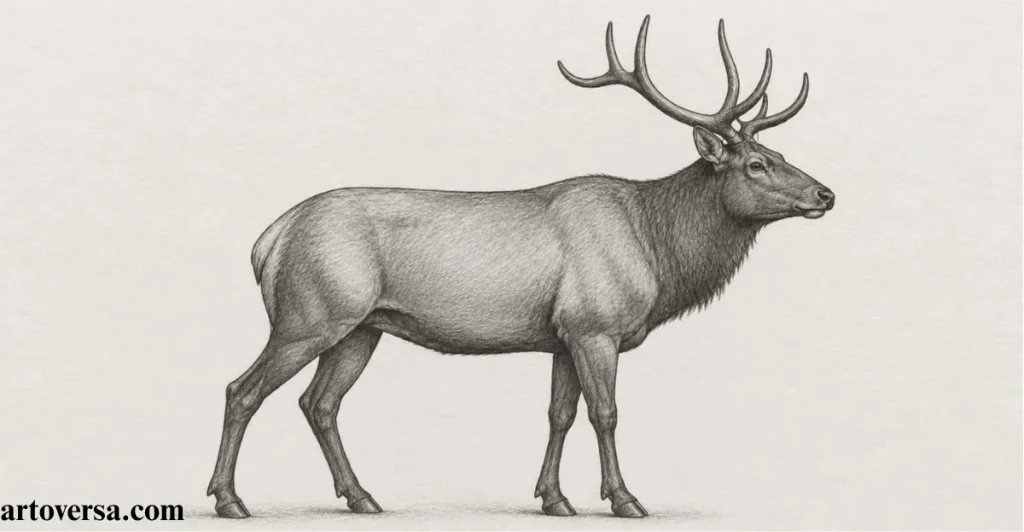
Identify the darkest areas of your reference before adding detailed shading to the elk portrait. Build these values gradually to create depth while preserving the flexibility to strengthen contrast later.
- Observe the reference photo to identify dark areas around the eyes, nostrils, mouth and deepest antler shadows.
- Use HB to 2B graphite pencils to develop darker values around the mane, neck and facial contours.
- Add shadows beneath the jaw and around overlapping forms to strengthen the elk’s structure and depth.
- Apply graphite gradually instead of pressing too hard, allowing room for further shading and adjustments.
- Compare light and dark areas regularly to maintain natural contrast and keep the elk’s facial features clearly defined.
I prefer identifying the darkest values before working on fur details because it gives the portrait a stronger foundation. Gradual graphite application also helps prevent the paper from becoming overly dark too early. I pay special attention to the eyes and nostrils because these areas influence the expression. Careful value placement makes the overall drawing look more convincing.
Step 3: Shading the Midtones
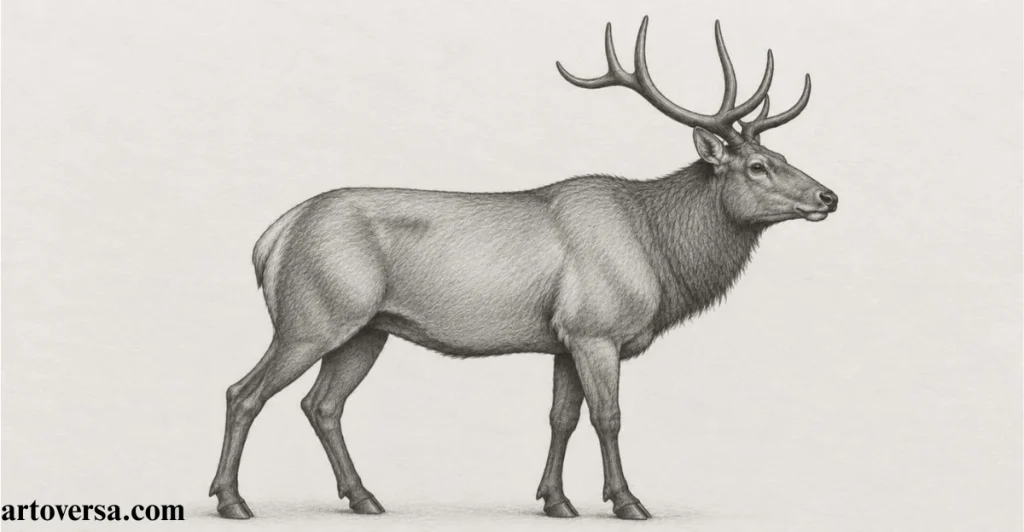
Bring your elk sketch to life by gradually connecting the deepest shadows with the lighter areas. Use controlled pencil pressure and strokes that follow the natural direction of the animal’s fur.
- Use an HB graphite pencil with light pressure to build midtones between the darkest shadows and highlights.
- Vary the direction and pressure of your pencil strokes to follow the elk’s facial contours and fur patterns.
- Create smooth transitions between light and shadow instead of switching abruptly from black to white.
- Preserve lighter areas by avoiding excessive graphite, especially around the forehead, cheeks and other illuminated features.
- Work from light to dark to maintain control over shading, improve depth and protect important highlights.
When developing midtones I find that light layered strokes produce more natural results than heavy shading. Following the direction of the underlying form helps the face appear rounded rather than flat. I also check the transitions between highlights and shadows before adding more graphite. This makes it easier to achieve realistic depth without losing lighter details.
Step 4: Adding a Second Layer of Dark Values
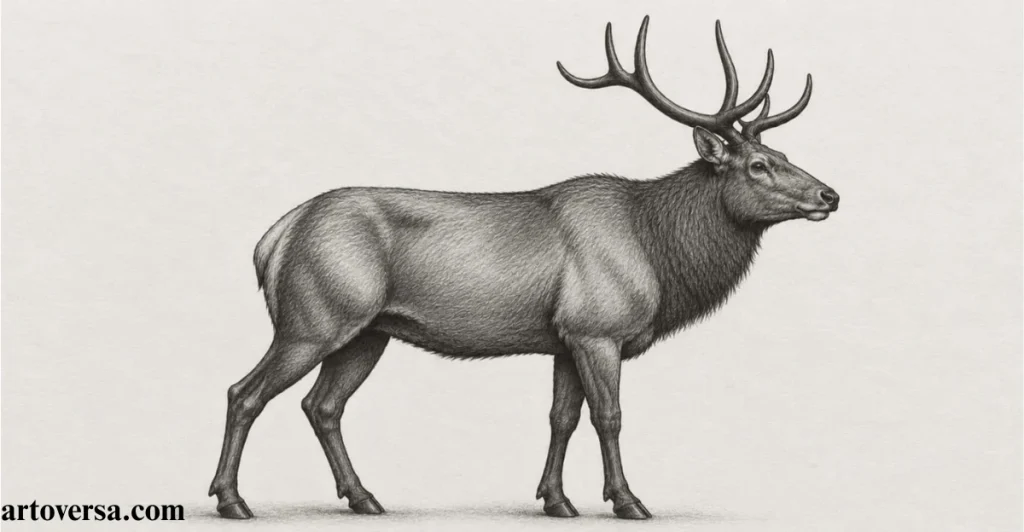
Revisit your drawing and strengthen the shadows that need more contrast and definition. Focus on selected areas instead of darkening every part equally, keeping the elk’s face as the main focal point.
- Deepen selected shadows around the eyes, nostrils, mouth, underside of the jaw and darkest portions of the mane.
- Strengthen shadows around the antler bases and overlapping forms to improve the sense of structure and depth.
- Use carefully placed graphite around the eye to create a glossy appearance while preserving a small highlight for reflection.
- Maintain a balance between dark values and midtones so the drawing retains a clear focal point.
- Treat antlers differently from fur by using sharper edges, defined shadows and deliberate strokes to represent their hard surfaces.
During the second shading pass I usually compare the drawing with the reference to identify areas that need stronger contrast. A small amount of graphite around the eye can make a noticeable difference to its expression. I avoid darkening every shadow equally because this can flatten the overall appearance. Selective contrast helps the facial features and antlers stand out naturally.
Step 5: Final Drawing – Creating Depth, Texture and Contrast
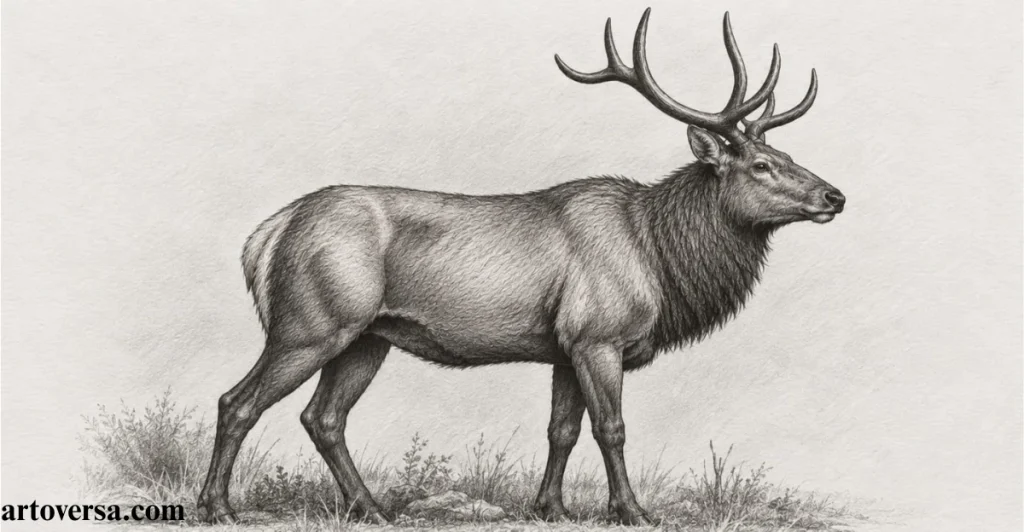
Complete your realistic elk drawing by refining the fur texture, antler details, and contrast between light and dark areas. Keep the finest details around the face while allowing less important areas to remain softer.
- Add short, delicate strokes around the face, eyes and muzzle to create a fine fur texture without overcrowding the drawing.
- Use longer flowing strokes around the neck and mane, varying their length, pressure and spacing to follow the direction of hair growth.
- Blend selected areas gently with a blending stump to soften transitions without smudging important details.
- Refine the antler structure with clear edges and controlled shadows while ensuring it does not overpower the facial expression.
- Review the complete portrait for depth, texture, contrast and realistic proportions, making final adjustments where necessary.
When finishing an elk portrait, I focus on texture selectively rather than drawing every strand of fur. Short strokes around the eyes and muzzle help preserve important facial details. I also soften unnecessary transitions while keeping the antlers clearly defined. A final comparison with the reference helps me maintain natural contrast and a balanced composition.
conclusion
Drawing a realistic elk becomes much more manageable when you focus on one step at a time. Starting with basic shapes helps you establish the correct proportions before adding the antlers, facial features, and body details. Careful shading and small finishing touches can also give your drawing more depth and make the elk look lifelike. If your first attempt does not turn out exactly as expected, keep practicing and refining your lines. With patience and these five beginner-friendly steps, you can develop your drawing skills and create an elk illustration you feel proud of.
FAQS
How can beginners create realistic drawings, and which animal is easiest to draw realistically?
Beginners can create realistic drawings by starting with simple shapes, observing reference photos and practicing accurate proportions shading light and shadows. Dogs, cats and rabbits are good animals to start with because their basic shapes are easier to understand. Focus on one feature at a time and gradually add texture and fine details to improve your drawing skills.
What is the easiest way to draw a realistic elk for beginners?
Start with simple shapes to outline the elk’s head, neck and antlers. Then gradually add accurate proportions, shading and fur texture.
Which pencils are best for realistic elk drawing?
HB pencils are useful for light sketches and midtones, while 2B pencils help create darker shadows and facial details.
How can beginners improve their animal drawing skills?
Practice regularly with reference photos start with basic outlines and gradually develop shading, texture and proportion accuracy.
Please Write Your Comments