How to Draw Glasses with Graphite Pencils
Updated: September 18, 2026
24
Creating a realistic glasses drawing is a great way to improve your pencil art skills and learn detailed object sketching. This tutorial guides you through simple techniques to shape the frames, add reflections and create realistic depth. You will discover how to use graphite pencils for smooth lines soft shadows and natural highlights. Each step helps beginners understand proportions and build confidence while drawing everyday objects. Start your glasses drawing journey with these easy graphite pencil steps and explore the techniques used to create realistic details.
Table of Contents
Simple Steps for Drawing Glasses
Start your glasses drawing journey today with simple steps that make sketching easier and more enjoyable while helping you build confidence and improve your artistic skills.
Step 1: Sketch the Shape of Lenses
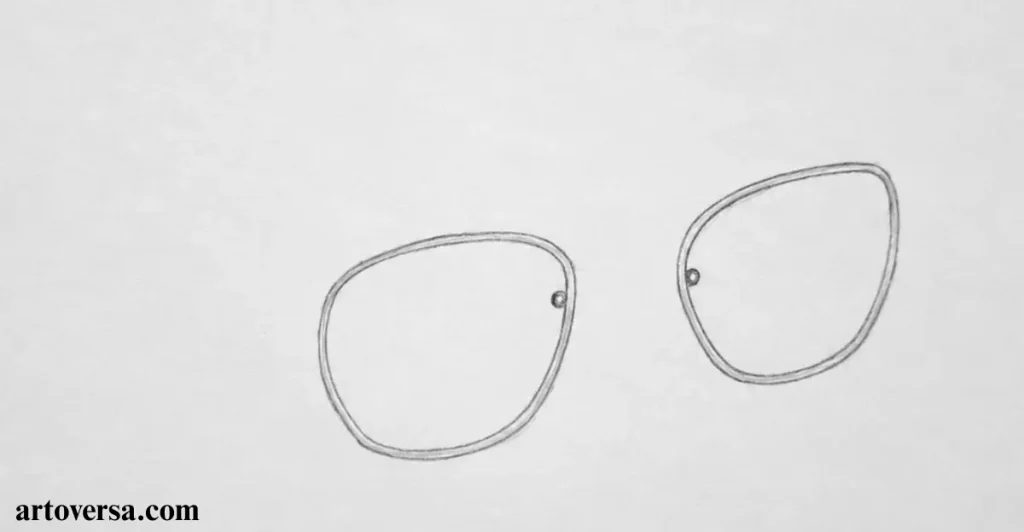
- Start by creating the basic lenses with light graphite lines and focus on their size, shape, and position before building the complete glasses structure.
- Study the distance between both lenses carefully because correct spacing creates a balanced appearance and helps the final drawing look more natural.
- Keep the curves soft while checking the angles from different directions so the lens shape stays accurate and easy to improve later.
- Use gentle pencil pressure throughout this stage because dark lines can make corrections difficult and affect the smoothness of the overall sketch.
- Pay attention to the empty spaces around the lenses as they help maintain proper proportions and create a realistic foundation for the glasses.
Common problems and how to overcome them
Many artists make lens outlines too dark before checking the correct shape and spacing. This mistake makes adjustments harder and can affect the complete glasses structure. Keep the first lines light and refine the form slowly.
When I first started drawing glasses, I gave more attention to details instead of focusing on lens balance. After improving my basic structure technique, my sketches became cleaner and more accurate. Careful observation helped me create realistic shapes with confidence.
Step 2: Sketch the Frame and Temples
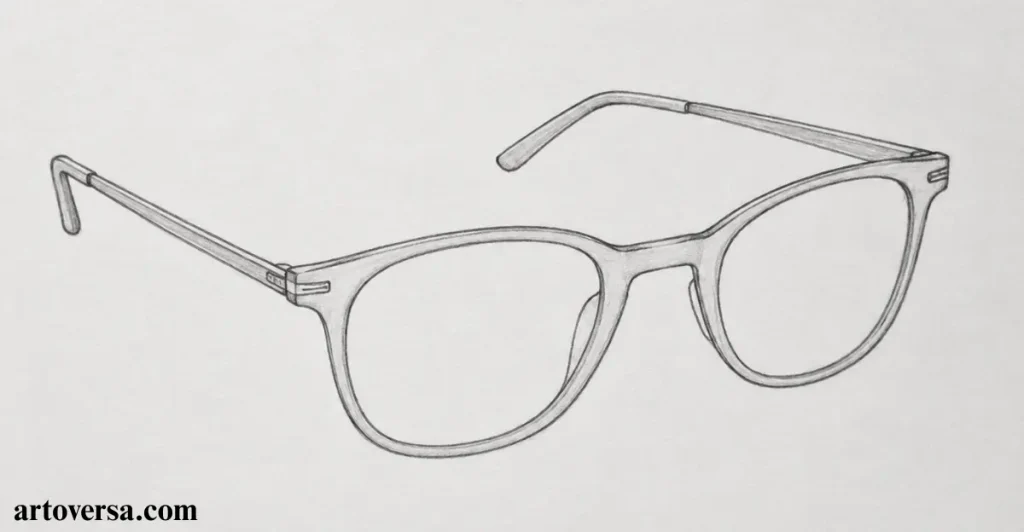
- Build the frame around the lenses by following their curves and showing the thickness that makes the glasses appear more realistic and detailed.
- Create the bridge between both sides with careful lines because this small section connects the entire frame and improves the natural appearance.
- Draw the temples moving backward with proper perspective so they look attached instead of appearing like separate straight lines.
- Add small sections such as hinges with controlled strokes because these details create depth and make the frame structure more believable.
- Refine the outer edges gently while keeping the shape smooth so the glasses maintain a clean and professional finish.
Common problems and how to overcome them
Many sketches look flat because the frame is drawn as a simple outline without thickness. Focus on curves, overlapping areas, and small connections to create a stronger three-dimensional effect. Careful shaping will improve the final result.
At the beginning of my glasses drawing practice, my frames appeared simple because I ignored their small structural features. After studying real designs closely, I understood how thickness and curves improve realism. This approach helped my artwork gain better depth.
Step 3: Complete the 3D Sketch by Drawing the Details
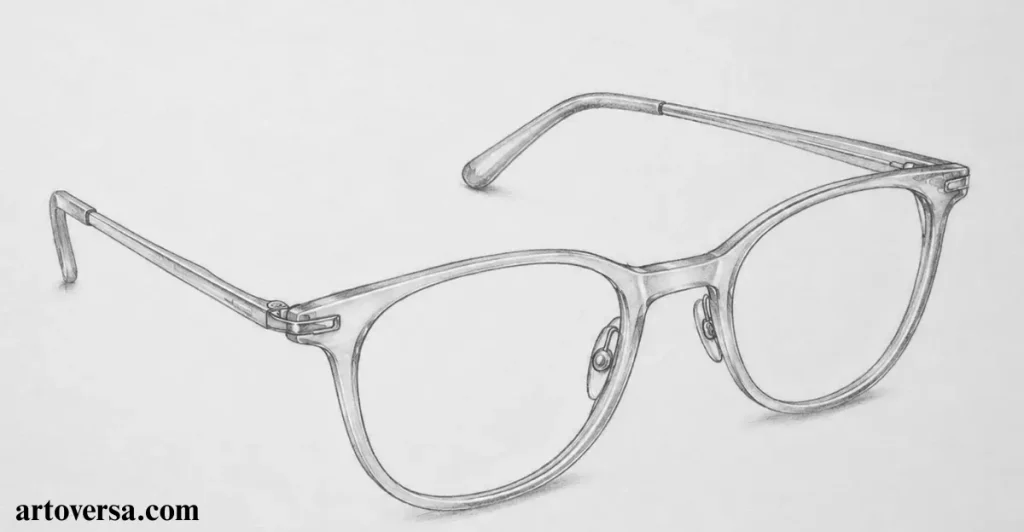
- Improve the 3D sketch by adding fine details to the rims, nose pads, and curved sections that help the glasses look more realistic and naturally shaped.
- Study the side, top and bottom views closely because each angle shows how the frame depth changes and gives the drawing a more realistic appearance.
- Refine the frame thickness with smooth graphite strokes while keeping the original shape connected and consistent with the earlier sketch structure.
- Add light and dark graphite tones carefully to separate different areas and create a soft dimensional effect without making the glasses look too heavy.
- Check each small feature before completing the sketch because accurate details bring more depth balance, and realism to the final glasses drawing.
Common problems and how to overcome them
Many drawings lose realism when extra details are added before the main structure is complete. Build the shape first and add smaller features slowly. This method keeps the sketch balanced and easier to refine.
During my early attempts, my glasses drawings looked flat because I skipped important depth details. With regular practice and better observation, my sketches started showing stronger form. Learning small structural changes made a noticeable improvement in my results.
Step 4: Shade the Darks on the Frame and End Pieces
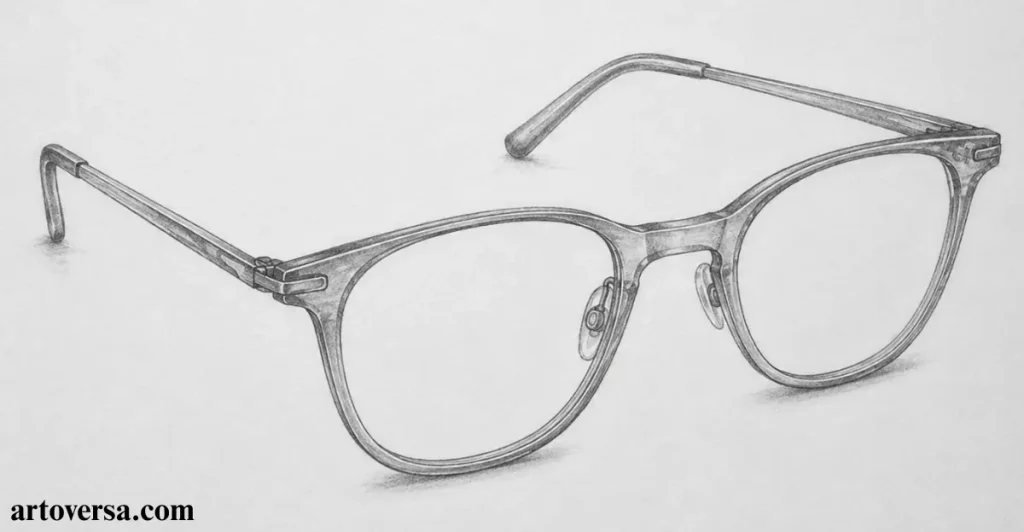
- Begin by adding deeper graphite tones to the frame where shadows naturally collect around overlaps, corners, and connected sections of the structure.
- Pay attention to the darker parts near the temples and edges because these sections create contrast and give the eyewear a stronger three-dimensional appearance.
- Use a 2B pencil with controlled pressure for rich values while keeping the remaining portions soft to prevent the entire design from looking flat.
- Apply darker marks on the end pieces near the temples while keeping smooth transitions where brightness still touches the surface.
- Keep a few sections untouched during this stage because the balance between dark and soft tones creates better depth and reflection in the final sketch.
Common problems and how to overcome them
Many artists make the mistake of covering the whole structure with heavy tones, which removes the feeling of depth and texture. Build darker values slowly and leave enough softer sections to create a balanced result.
When I first practiced adding darker values, my eyewear sketches looked too heavy because the contrast was uneven. After understanding shadow placement, my pencil work became smoother and more controlled. Careful pressure changes created a more believable finish.
Step 5: Complete with Midtones and Highlights
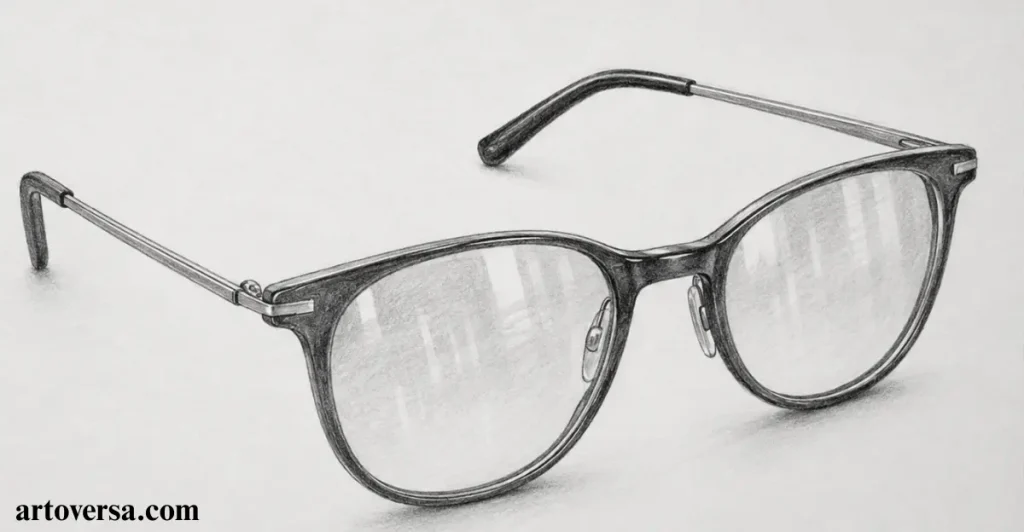
- Add soft midtones and highlights to the remaining sections by blending lighter pencil strokes with the deeper values already created.
- Create gentle tones across the lens surface because transparent materials still contain slight reflections and variations that improve the overall appearance.
- Use an HB pencil to build balanced values and blend transitions where brightness changes across the optical surface.
- Add small highlight marks with a kneadable eraser because these tiny details bring clarity and make the lenses appear cleaner.
- Review the complete balance between shadows, reflections, and brighter portions so the final artwork feels smooth without unnecessary marks.
Common problems and how to overcome them
Many sketches look unnatural when reflections are added without studying the actual surface. Observe the direction of brightness carefully and place highlights only where they support the form.
While improving my pencil techniques, lens reflections were one of the areas that required more observation. After studying different surfaces and lighting effects, my artwork gained softer transitions. This practice improved my ability to create balanced details.
Step 6: Application – Drawing Walter White’s Glasses
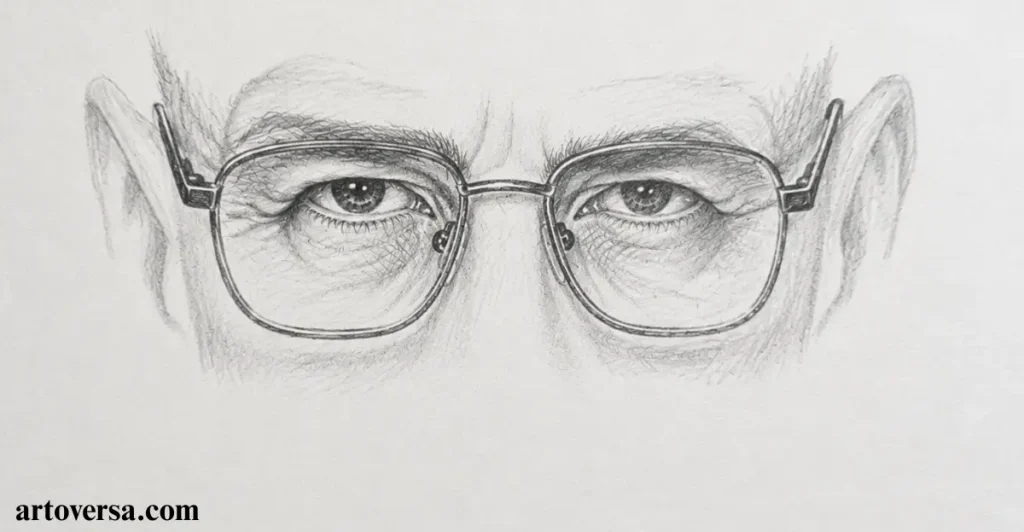
- Applying these techniques to character artwork shows how glasses can add personality, mood and a unique identity to a portrait.
- Observe the shape, style, and darker details of Walter White’s iconic eyewear because these elements make his appearance more recognizable and memorable.
- Pay attention to how the spectacles sit with the facial features because correct placement creates a more balanced and believable portrait.
- Use the same pencil techniques for edges, reflections, and soft contrasts while adapting the approach for different eyewear designs.
- Keep the small details around the eyes and accessories accurate because they can turn a simple portrait into a more expressive and engaging artwork.
Common problems and how to overcome them
Many artists concentrate only on the accessory and forget its relationship with the face. Consider the surrounding features, proportions, and angles to keep the complete portrait looking connected.
I discovered how small accessories can add strong personality to the subject. Practicing different eyewear designs improved my understanding of structure and expression. This approach allowed my sketches to become more detailed and engaging.
Conclusion
Mastering glasses drawing with graphite pencils is a great way to develop your sketching skills and understand realistic details. By practicing shapes, shadows reflections, and textures, you can create artwork that feels more natural and balanced. Each step in this tutorial helps you improve control over pencil pressure and shading techniques. Careful observation of small features will make your drawings look more accurate and expressive. With patience and regular practice, your confidence will continue to grow with every sketch. Keep exploring different styles and techniques to enhance your graphite artwork.
FAQs
What pencils are best for drawing realistic glasses?
Graphite pencils like HB, 2B, and 4B are ideal for creating realistic glasses because they help you control light lines, shadows, and darker details. Using different pencil grades allows you to build smooth shading and achieve a more natural finish.
How can I make glasses look realistic in a drawing?
Creating realistic glasses requires attention to proportions frame structure lens shape, and reflections. Observe real glasses carefully and use soft shading techniques to add depth, making the artwork look more balanced and lifelike.
How do I add realistic reflections to glasses lenses?
First, understand the direction of light falling on the lenses. Use gentle graphite strokes and leave some lighter areas untouched to show transparency, brightness, and the smooth surface of the glass.
Why does my glasses sketch look flat?
A glasses drawing often looks flat when the shading and structure are not developed properly. Adding different tones, frame thickness, and small details helps create depth and gives the sketch a more three-dimensional appearance.
Is drawing glasses with graphite pencils difficult for beginners?
Drawing glasses becomes easier when you start with basic shapes and slowly add details. With regular practice beginners can improve their control, understand shading techniques, and create realistic sketches with more confidence.
Please Write Your Comments